by Gloria Ballard | Apr 5, 2025
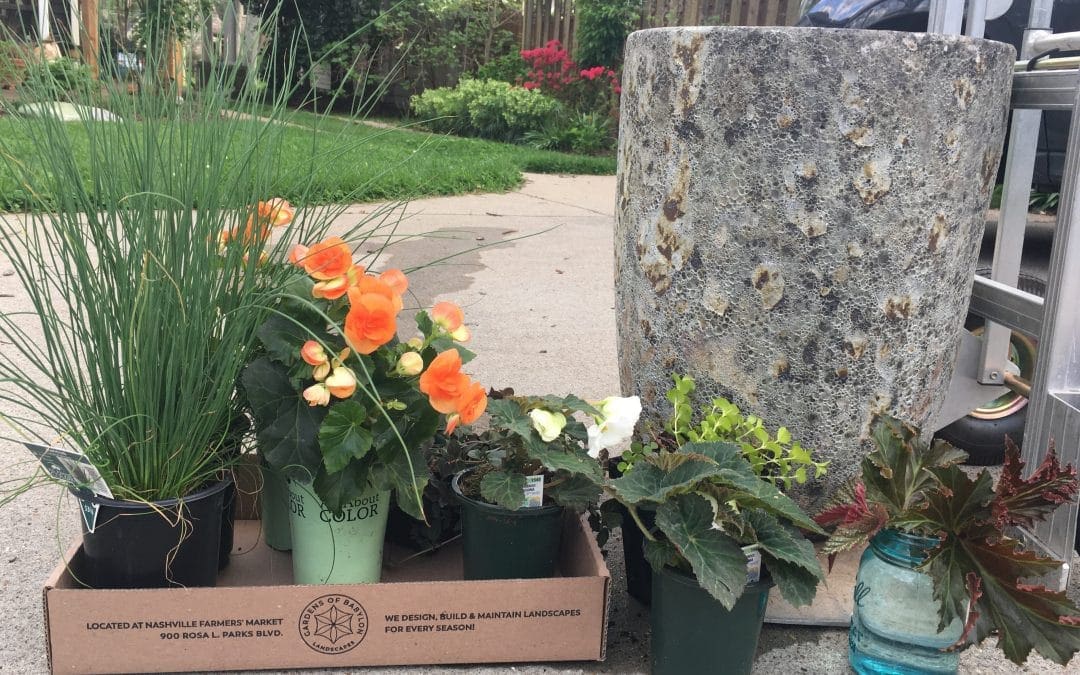
Every spring, I’ve been putting the same tired geraniums on the porch near the front door. This year I decided I needed something different – I mean, don’t we all? – and I’ve chosen to go all-in on a mixed container planting to bring a shot of color to the doorstep. And while I have my own thoughts about what I like in a container, I wanted to get some fresh ideas and pointers that I can pass along. I called on Dana Stein, Gardens of Babylon’s procurement director, who was more than eager to share her knowledge of how to put together successful containers.
Before you begin
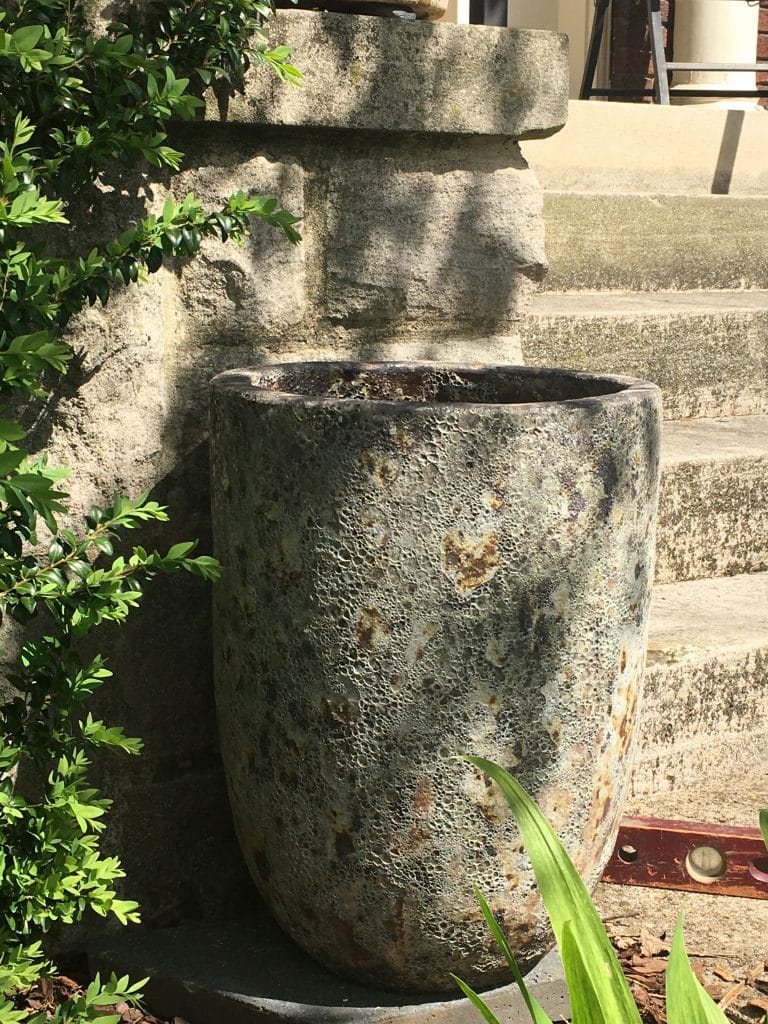
You may already have a container, or you may be in the market for a new one. Check out this article for suggestions on how to choose the best container, then fill it with good, high quality planting mix. “Don’t skimp on the soil,” Dana suggests. “Remember that you get what you pay for.” Then let the fun begin.
“The first thing to consider is if your planter will be in sun or shade,” Dana says. That, of course, will determine what you will put in it. A pot on a porch that receives sunshine all day will need sun- and heat-tolerant plants; a porch in dappled or full shade needs plants that don’t need as much sun to thrive. It’s important to know the conditions on your doorstep.
“Go to a good garden center and you’ll find sun-loving plants in one location, shade plants in another,” Dana says. Walk around and think about what you like: “Think about colors. Do you like warm colors? Bright? That will help you narrow it down.” And think about how to put them together for the best look, and what excites you: “Just do a gut check – what makes you happy?”
Thriller, filler, spiller
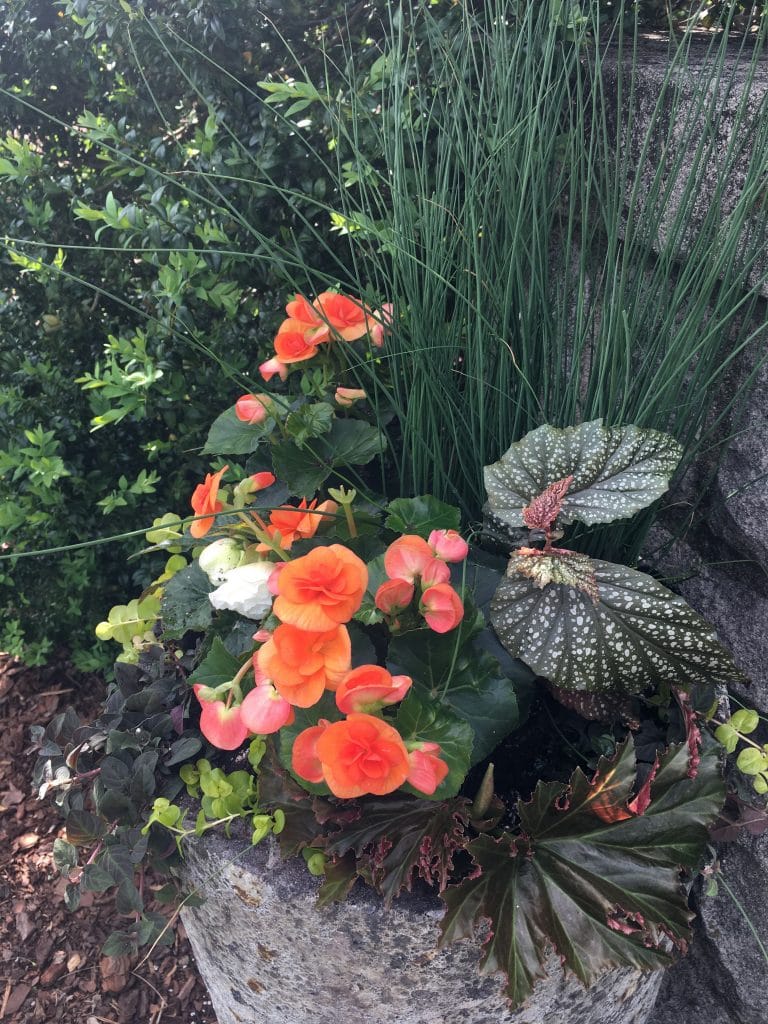
It’s an old but valid rule for putting together successful container plantings: Start with something tall and bold – a “thriller” plant. Add a mid-size “filler” or two, something that is eye-catching, adds color and texture, and fills the bulk of the garden space. Finally, finish with a “spiller,” something that will trail over the sides to add softness, more texture, and more interest.
“Everyone knows about this; all the pros know it,” Dana says. “Use this formula, and that’s going to make you look like a professional.”
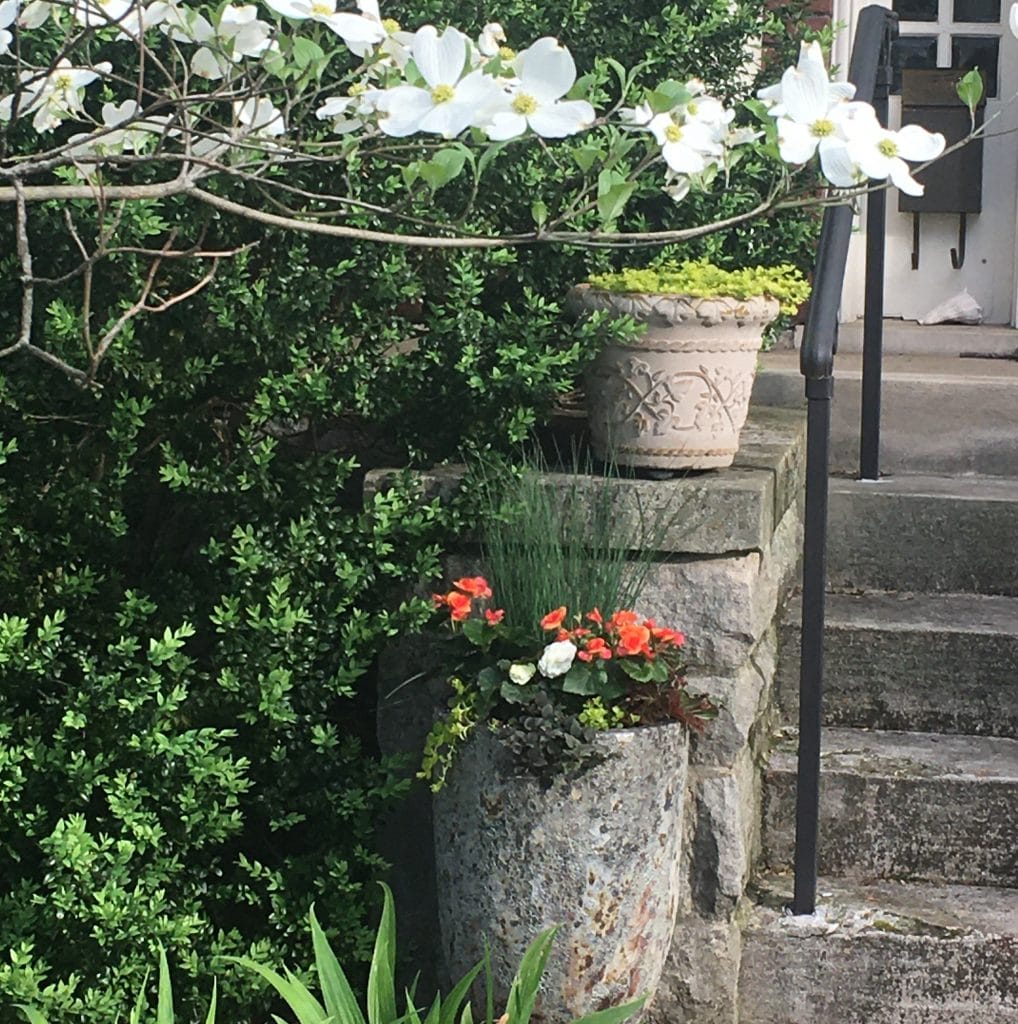
When you plant, begin with the thriller, and consider the angles from which the garden will be seen; if it’s out in the open, place the tall plant in the center of the container and fill in all around it. If the container will be against a wall or other backdrop – as mine will be – place the tallest plant at the back of the pot, and let the fillers and spillers take front and center.
What’s the ideal number of plants to use? As many as it takes. “Pack them in!” Dana suggests. “Make it instant gratification. You want the end result to look like it’s already grown and spilling over, even after it’s just been planted.”
Care and maintenance
Plants are growing, living things, so you have to be attentive to their needs, Dana says. A container garden needs frequent watering, sometimes daily during extremely hot weather. “Put your finger in the soil two inches deep, just to check. Every day,” Dana says. “If it’s over 90 degrees, definitely containers will need to be watered every day.” Ideally, the pot is lifted a bit off the ground with pot feet or risers, she suggests. “When you water, you want to see water come out the bottom of the pot.”
The garden will also need nourishment. “Plants in containers are heavy feeders,” she says. When you water, the nutrients will leach out the bottom.” A good organic fertilizer is a must-have part of the regimen. “It’s like a healthy diet for the plants. They’ll look better if they’re being fed well.”
A bit of cosmetic attention is also necessary. “Just like we need to get haircuts and trim our fingernails. Every so often they need to be deadheaded, clipped and trimmed, especially if things start to get leggy. Get a good pair of pruners and tidy things up a little bit.”
What’s trending in container plantings?
“People are getting out of the box with their containers,” Dana says. Tropical selections that we usually think of as houseplants – snake plant, for instance – are showing up in summer container gardens, and make big statements in a planting. “Also, the oldest plant known to man, reed plants, have been really popular.” This upright, architectural bit of greenery can be an excellent “thriller,” and something a little unusual for a container.
Lower-growing annuals, grasses, and plants that provide texture as well as color are also popular choices for mixed containers, she says. Ivies, thyme and other trailing plants are the “spillers” to look for. “Just think about what makes you happy,” Dana says.
For the container at my doorstep, which will be in dappled shade most of the day, I walked around the garden center and remembered how much I like the more unusual varieties of begonias. I’d planned to start with the tall, architectural vibe that a reedy plant provides – in this case, Equisetum hyemal, or horsetail – but was drawn to the tall, sometimes spiraling growth of Juncus ‘Twisted Arrows.’
I chose two different begonias for their large, showy flowers, Hiemalis ‘Amstel Batik Orange’ and a tuberous variety, ‘Nonstop White.’ To those I added cuttings from two pass-along begonias already in my collection, an angel-wing variety and a type with large frilly leaves – official names unknown. A new, purplish creeping Jenny — Lysimachia ‘Midnight Sun’ — and the bright green Lysimachia variety that I dug out of containers I’ve had for years, spill over the rim of the pot in my new begonia garden.
If the spot for your container garden is sunny, Dana suggests a variety of sun-loving plants: container-size sunflowers, black-and-blue salvia, ‘Million Bells’ petunias, dwarf zinnias, a selection of kitchen herbs – the choices and combinations are endless.
“Remember the ‘thriller-spiller-filler’ rule, and go for the look that makes you happy,” Dana suggests.
Click here to watch Dana Stein demonstrate how to plant a container garden in “Container Planting 101.” Browse the Gardens of Babylon Garden Center, 900 Rosa L. Parks Blvd., for containers and for ideas of what to put in them.

by Gloria Ballard | Nov 27, 2023
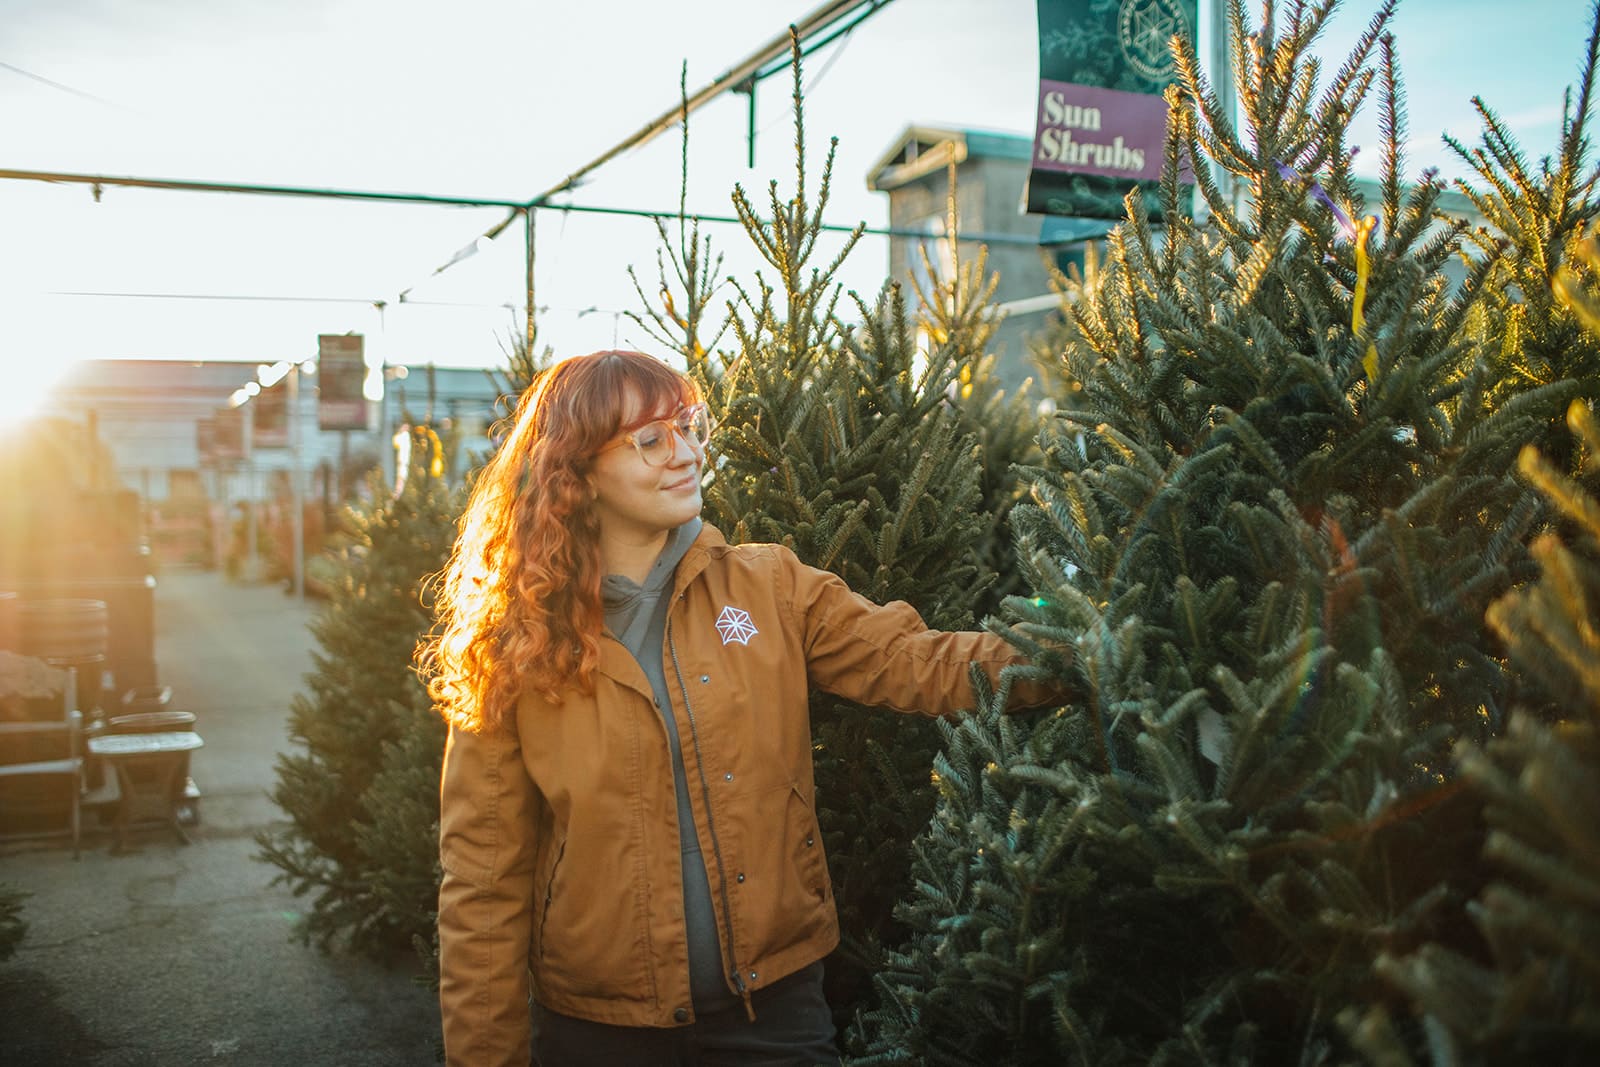
For many who celebrate the Christmas holidays, there’s something special about bringing in a real tree to hang with twinkling lights, sparkling garlands and special ornaments. Once inside, though, that temporary houseguest needs attention to remain as healthy and last as long as possible.
“We will have fresh cut Fraser fir trees available,” says Trevor Bradshaw, Gardens of Babylon’s director of retail sales. Read on for tips on caring for a cut Christmas tree, along with how to manage a living tree (with the root ball intact) decorated indoors during the holidays:
How to care for a cut Christmas tree
The cut tree that you purchase at a garden center, Christmas tree lot, big box store or the nearest grocery has been raised as a crop, much like corn or tomatoes, then cut and shipped to their various destinations. When you buy it and bring it home, it likely was cut weeks ago, so it’s important to prepare it right away for its temporary stay inside your home.
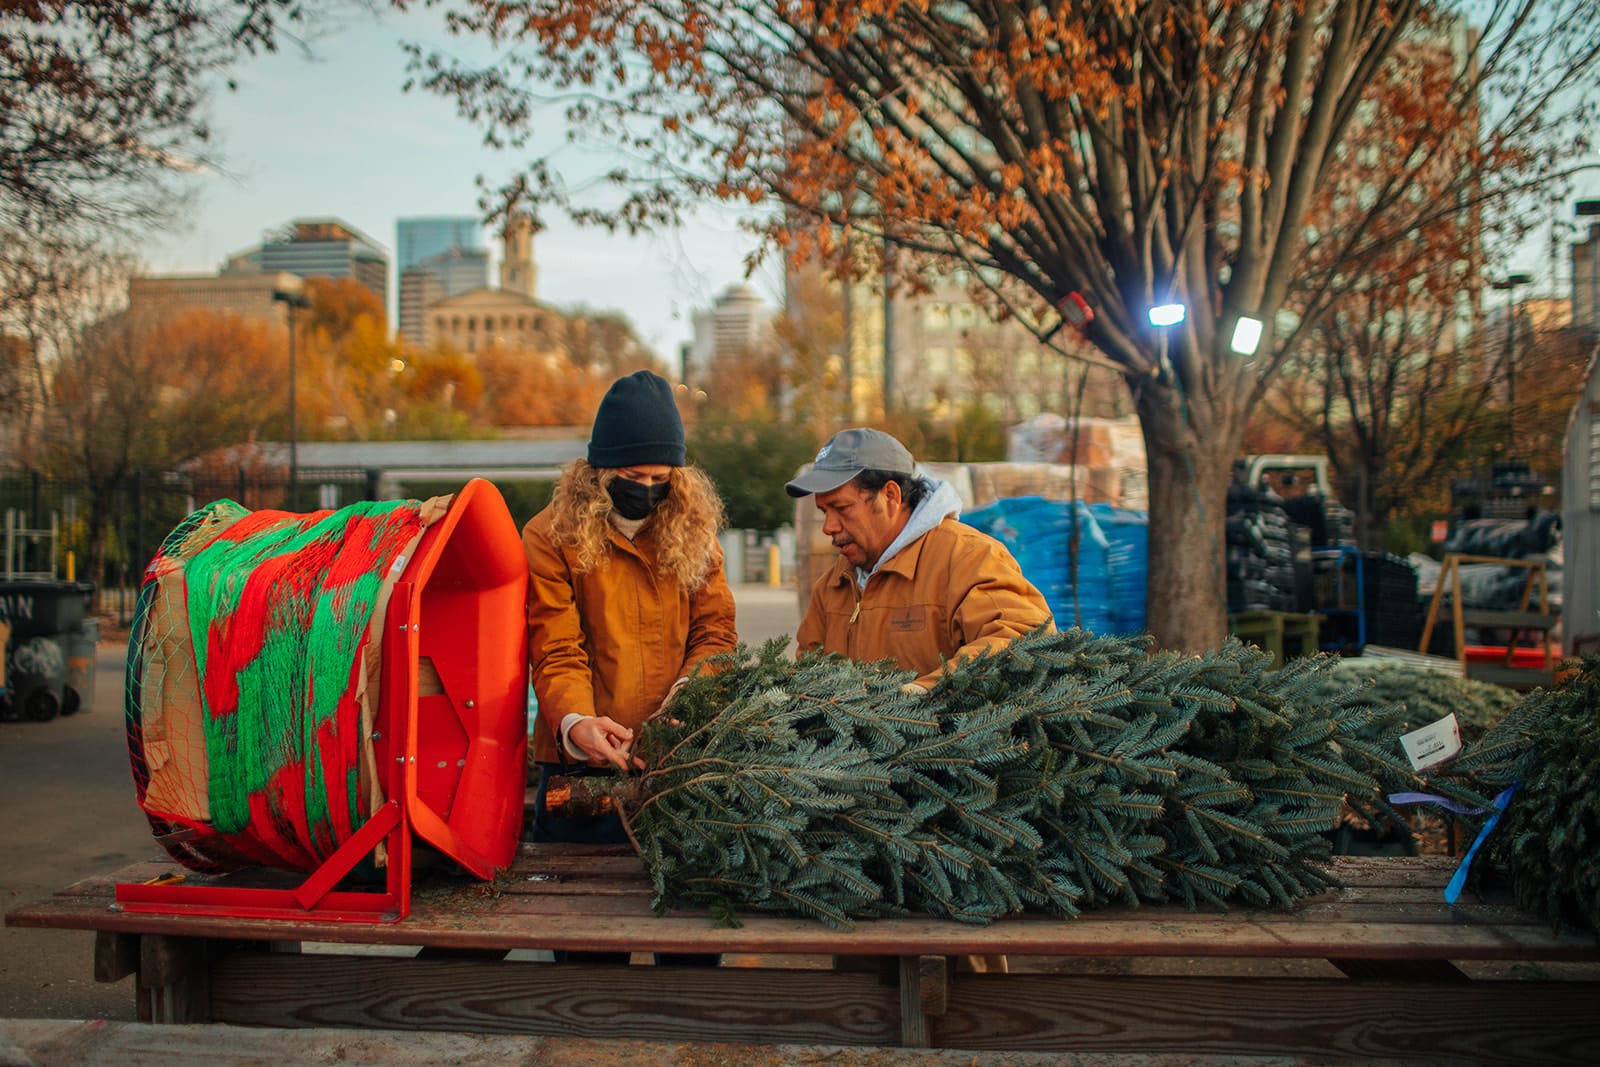
Once a tree is cut, it begins to form a callus of sorts at the base, so to allow the tree to absorb water more easily, give the tree a fresh cut at the base, removing about an inch of the trunk. Place it in a sturdy stand that holds plenty of water. An internet search turns up a variety of water “recipes” that may help the tree stay fresher a bit longer; ingredients may include bleach, corn syrup, aspirin or other additives, but water – and plenty of it — is the most necessary ingredient.
For a tree that’s been in an outdoor lot, it’s a good practice to acclimate it to the temperature change inside your home by keeping it in an unheated but protected area (think garage, if possible) for a couple of days before you bring it inside. A sudden temperature change may cause needles to drop sooner.
Once it’s in place (in a safe location, away from heat sources) and decorated, check the water level in the stand daily.
How to care for a living Christmas tree
It’s also possible to use a container-grown or balled-and-burlapped tree as a Christmas tree that you plan to plant outdoors later, but more care is necessary. “We have live conifers that technically could be used as Christmas trees, but we don’t usually recommend it,” Bradshaw says. “They won’t live very long indoors.”
Indeed, trees are meant to be outdoors, so plan to bring your new spruce, juniper, pine or cypress tree inside as late as possible and take it back out (and get it in the ground) as soon after the holiday as you can. Expert sources advise that a living Christmas tree should be kept indoors no longer than ten days.
During that time, think of it as a finicky houseplant. Keep it away from heating vents, fireplaces, space heaters, stoves or anything else that would cause it to dry out more quickly. If you use lights on the tree, turn them off overnight and while you are away during the day.
Be sure the root ball stays hydrated; check the soil moisture every day. And when Christmas is over, get the tree back out and in the ground as soon as you can. A tip for planting: If the ground is not frozen, dig the hole where you plan to plant the tree before Christmas, and cover it and the soil you remove with a tarp. That way, when you take the tree back outdoors, it’s easier to remove any containers or wire fittings, place the tree in the ground, backfill the soil and water it well.
Holiday greenery
Even if you opt for an artificial tree for the holidays, you can bring that Christmas fragrance inside by using other cut greenery – swags, garlands, wreaths and arrangements made from the branches of fir, pine or cedar trees as mantel and table décor. “We will have fresh wreaths, garland and branches available,” Bradshaw says.
To help cut greenery last longer, an anti-desiccant spray may keep it from drying out as quickly. Place any greenery away from heat sources such as fireplaces or heater vents, and be especially careful if you use greenery around lit candles.
And, of course, those fragrant wreaths and garlands can dress up your home outdoors, as well, around doors and lampposts. Here, too, is where an anti-desiccant can keep the greenery green longer.
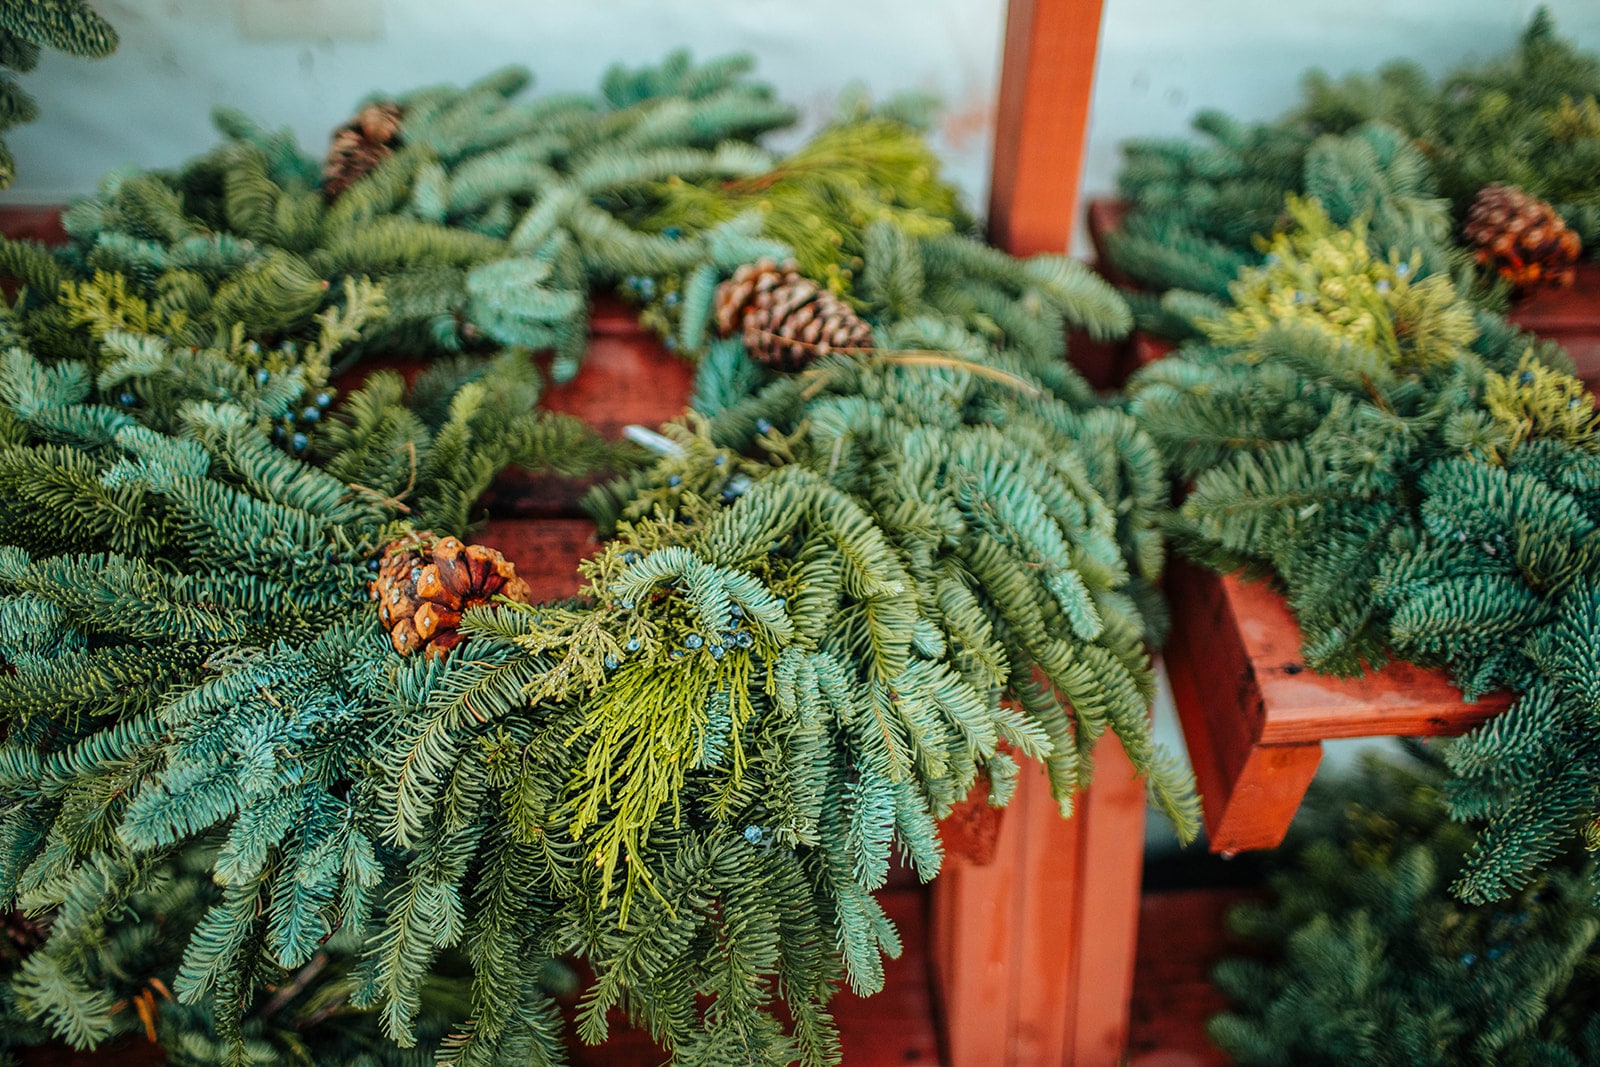
Christmas and holiday trappings at the Gardens of Babylon Garden Center include fresh cut Fraser fir trees, along with fresh wreaths, garlands and branches. Indoor selections include poinsettias, Christmas cactus, amaryllis and paperwhites. Visit the garden center soon (800 Rosa Parks Blvd.) soon for the best selection.
This year we’re offering pre-booking of delivery for Christmas trees – we are Nashville’s source for the most beautiful trees and greenery that will elevate every celebration! To book & learn more, visit our Christmas Tree booking page!

by Gloria Ballard | Oct 9, 2023
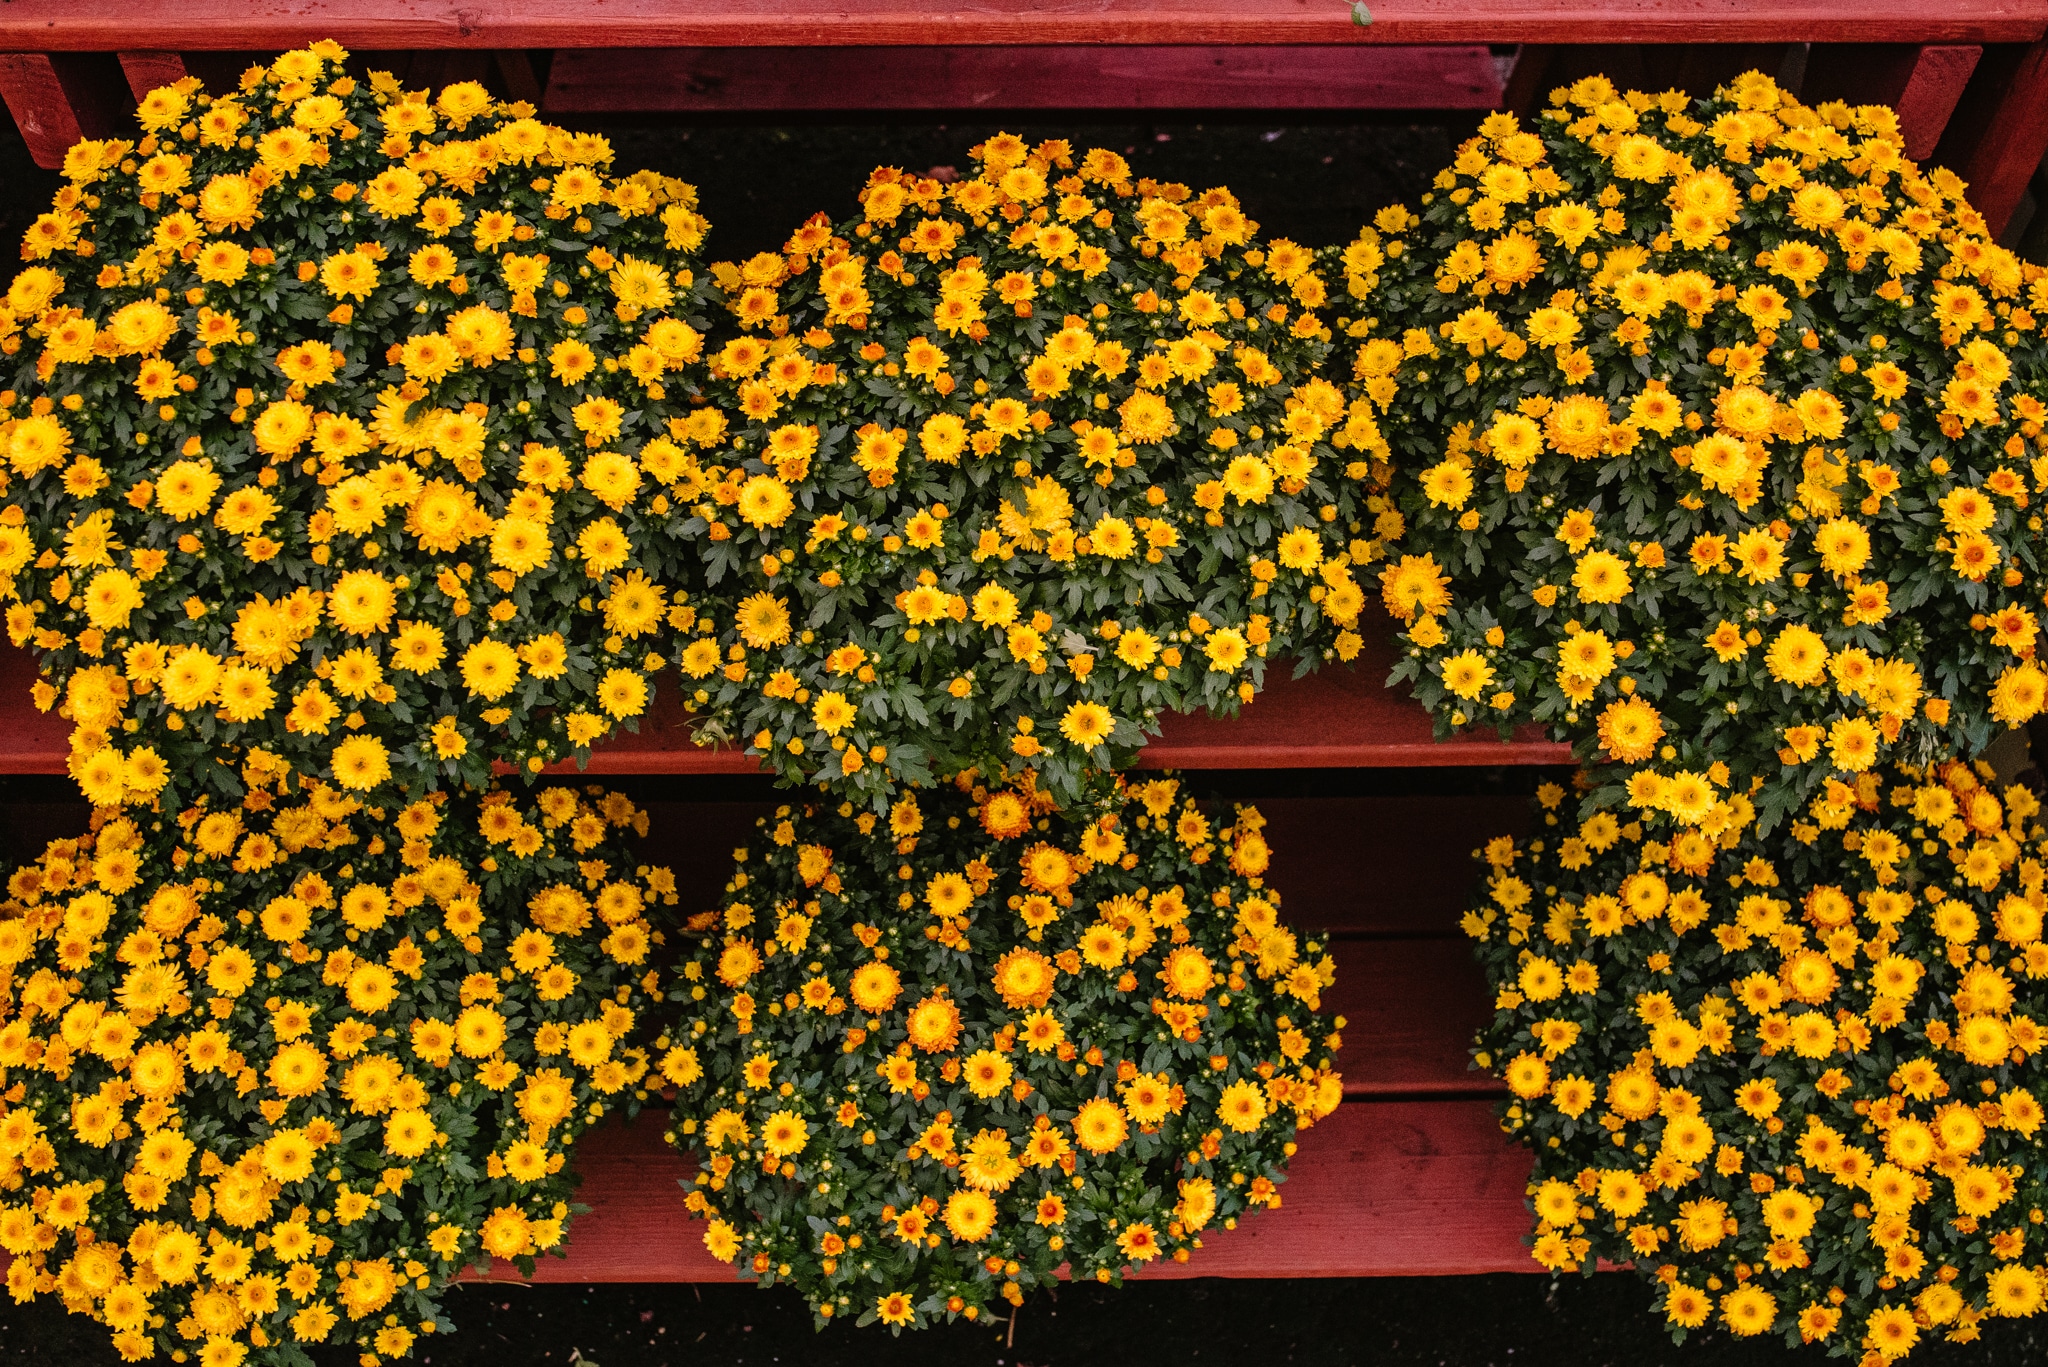
You know it’s really fall when you see swaths of brightly colored flowers drifting across a garden center’s tables and shelves. Here’s where you can pick up a pot – or two, or three or more – of mums to take your landscape through the season. But what to do with them once you get them home?
You have options: you can plant them in the ground as temporary accent plants; use them in container gardens with other fall-theme plants and flowers; you can display big, solo mounds of mums in containers.
Most gardeners tend to treat mums as annuals, and toss them on the compost once their time seems to be up. But you can also plant these hardy mums in your landscape where they will return year after year to brighten your garden beds in the fall.
Accent with Mums
Potted chrysanthemums that you purchase in fall do well outdoors when they get enough sunlight and water, and the flowers last until they succumb to a hard frost. You may want to transplant them from their nursery pots into something more decorative with potting mix, but it’s easy enough to set the plastic pot of blooming mums into a decorative container and call it done.
Smaller pots of mums can become great accent plants in a fall-theme container garden, paired with other fall annual and perennial favorites such as ornamental kale and cabbage, heuchera, juniper, sedges, pansies and other plants that don’t wilt in cold weather.
If you plant your just-bought blooming mums in the ground, be sure to cover the soil with plenty of mulch. While the first big frost will turn the flowers brown, the foliage will likely stay green for a while longer, and the mulch will help protect the roots, making it more likely that the plants will sprout from the ground again in the spring, if that’s your goal.

From the Ground Up
Yes, if it’s a mild enough winter and they’re in a suitable location – full sun and well-drained soil — those mums in the ground likely will come back in the spring, and this is when the care and training begin.
In my own garden beds here in Middle Tennessee, tender new foliage begins to appear as early as March, or earlier if the winter has been mild. As spring approaches, cut back the dead stems, and apply a balanced fertilizer.
Mums’ foliage begins to grow steadily when the weather warms up, so for the best display in the fall, take time to pinch back the growing tips two or three times during the spring and summer, even if you notice buds beginning to form. This allows the plants to grow fuller and bushier, and delays blooming until fall, when you really need those flowers to open. Stop pinching them back about mid-July to allow buds to begin to form. Feed mums once again in early August. They will bloom in late summer and throughout the fall. After freeze has turned everything brown, allow the dried stems to remain; this increases the plants’ chances of survival in the ground. A light layer of straw or loose mulch provides additional protection.
A clump of mums tends to get woody as the plants get older so they should be divided every two years, preferably in spring. Dig them up, split the root clumps apart, then replant in your garden beds (and share the leftovers with gardening friends). This assures that your patch of mums remains full and attractive year after year.

Bring Mums inside
Although I find the scent of chrysanthemums to be a little too strong for indoor enjoyment, it is possible to enjoy those blooms inside. Give them a place with bright, indirect light. Check the soil frequently, and water the mums when the top inch of the soil is dry. Cut off the flowers as they begin to droop to encourage the mums to continue to bloom as long as possible.
Visit the Gardens of Babylon Garden Center for a variety of fall-hardy plants and decorative containers for your home and garden.

by Gloria Ballard | Oct 5, 2023
As fall arrives, you may turn your attention to growing plants indoors. If you share your space with curious cats or a pup that likes to chew on everything, keep in mind that some houseplants pose a risk. Toxicity in some plants can cause a variety of ailments, ranging from irritation and stomach distress to more serious neurological symptoms – and possibly even death.
The lists below show you common houseplants (adapted from a much longer list provided by the American Society for Prevention of Cruelty to Animals) that, if you display them in your home, should be kept out of a pet’s reach as well as a list of pet safe plants.
This information from ASPCA tells what to watch for:
Five Favorite Houseplants Toxic to Pets
Dracaena species (Corn plant, Dragon tree and other varieties): Symptoms include vomiting (occasionally with blood), depression, anorexia, hypersalivation. Cats pupils may become dilated.
Jade plant: Watch for vomiting, depression or incoordination.
Monstera deliciosa (Swiss cheese plant): A nibble of this will cause intense irritation and burning of the mouth, tongue and lips, and excessive drooling, vomiting and difficulty swallowing, according to ASPCA.
Peace lily: Despite its soothing name, this plant also causes burning and irritation of the mouth, vomiting, excessive drooling, and difficulty swallowing.
Pothos: Devil’s Ivy is a common name for some varieties of Pothos. The mouth irritation, drooling and vomiting in this and many other toxic plants are caused by insoluble oxalates – essentially tiny needle-shaped crystals – in the foliage.
Pet Safe Houseplants
Of course not all plants are toxic; there are many that are perfectly safe for pets if they happen to try a nibble. Here are a dozen houseplant favorites, adapted from ASPCA’s much longer list at its website, that shouldn’t be a problem if Fluffy or Max tries a taste. And since there may be different plants that go by the same common name, knowing the plant’s botanical name helps to know you’ve made the right choice.
African violet (Saintpaulia species); Boston fern (Nephrolepis exalta bostoniensis); Cast-iron plant (Aspidistra elatior); Christmas cactus (Schlumbergera species, also called holiday cactus, Thanksgiving cactus; Gloxinia (Sinningia speciosa); Majesty palm (Ravenea rivularis);
Parlor palm (Chamaedorea elegans); Peperomia (Peperomia species); Phalaenopsis (Phalaenopsis species), also called Moth orchid); Ponytail palm (Beaucarnea recurvata); Shamrock (Oxalis regnellii); Venus flytrap (Dionaea muscipula)
Keep your pets off your plants
If you share your home with pets and unsafe houseplants, the most obvious way to keep them apart is by putting the plants out of reach. That’s easier if the fur friend is a dog; cats pretty much go where they please, so putting a plant on a high shelf may still be asking for trouble.
In that case, diversion or distraction may be a good option. You may be able to train your pet to stay away from plants through positive reinforcement. Provide plenty of safe toys so they won’t be tempted to explore the plants. Try placing scented items that pets don’t like (one suggestion is citrus peels) in the pot. Give cats their own “garden” of cat grass – typically a mixture of wheat, barley, oats or rye grown indoors from seed – to nibble on so they will be less likely to explore your indoor garden.
More on pet plant safety
The American Society for Prevention of Cruelty to Animals’ (ASPCA) Animal Poison Control Center website has a comprehensive guide to plants that are poisonous and non-poisonous to pets (www.aspca.org/pet-care/animal-poison-control).
The ASPCA also offers a 24/7 Animal Poison Control Center helpline, 888-426-4435. A consultation fee may be charged, but the call could save an owner a trip to the ER, or save a pet’s life.
by Gloria Ballard | Sep 25, 2023
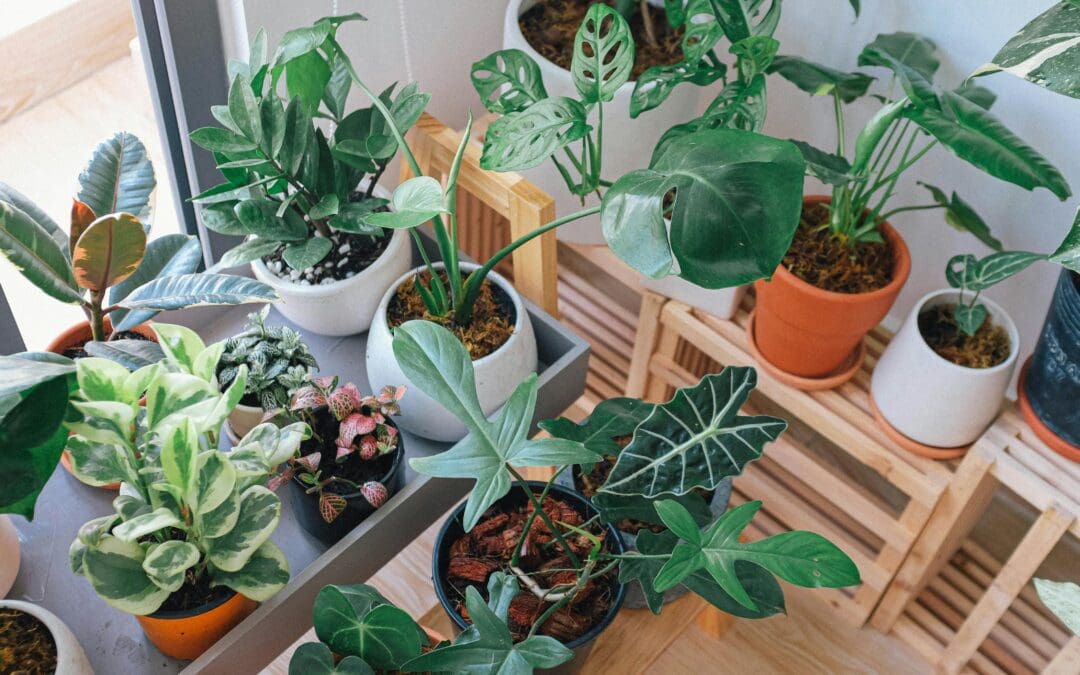
Fall has arrived. This dip in the temperature is a reminder that those houseplants that have been basking in the summer heat and humidity outdoors will soon need to come back inside. A frosty night is not kind to plants that prefer warmer weather.
Middle Tennessee’s first-frost date — according to the National Weather Service, the date of the minimum temperature being 36 degrees F or below — is typically predicted around mid-October. But houseplants’ move from outdoors to in is a process, so it’s best to plan for the transition in advance.
Here are five important steps to follow when you bring houseplants indoors:
Watch the weather.
The best plan is to bring plants inside before nighttime temperatures consistently drop to 55 degrees F or below. In any case, don’t wait until the night before the first frost is predicted. Begin to move plants into shadier areas outdoors to allow them to become accustomed to lower light conditions.
Consider whether the plant needs repotting.
Some plants will have produced abundant new growth and may have outgrown their current container. Re-pot as needed.
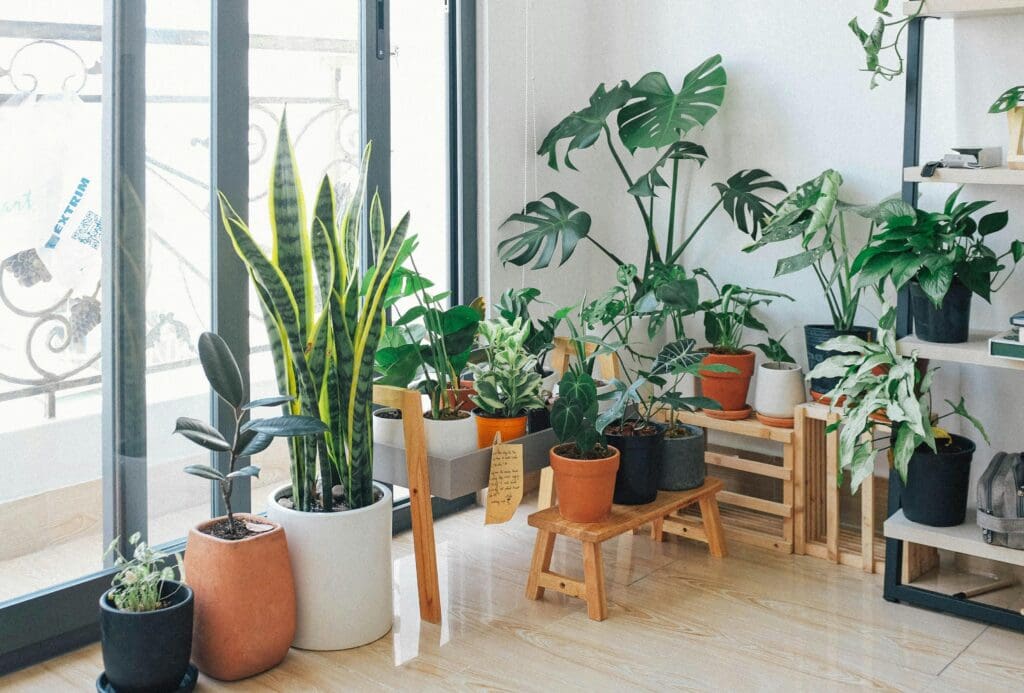
Clean out any leaves
or other debris that may have accumulated in the pots during the summer. Examine the plant’s soil and, if possible, the roots, looking for earthworms, ants, pillbugs, snails and other creatures you probably don’t want to bring indoors.
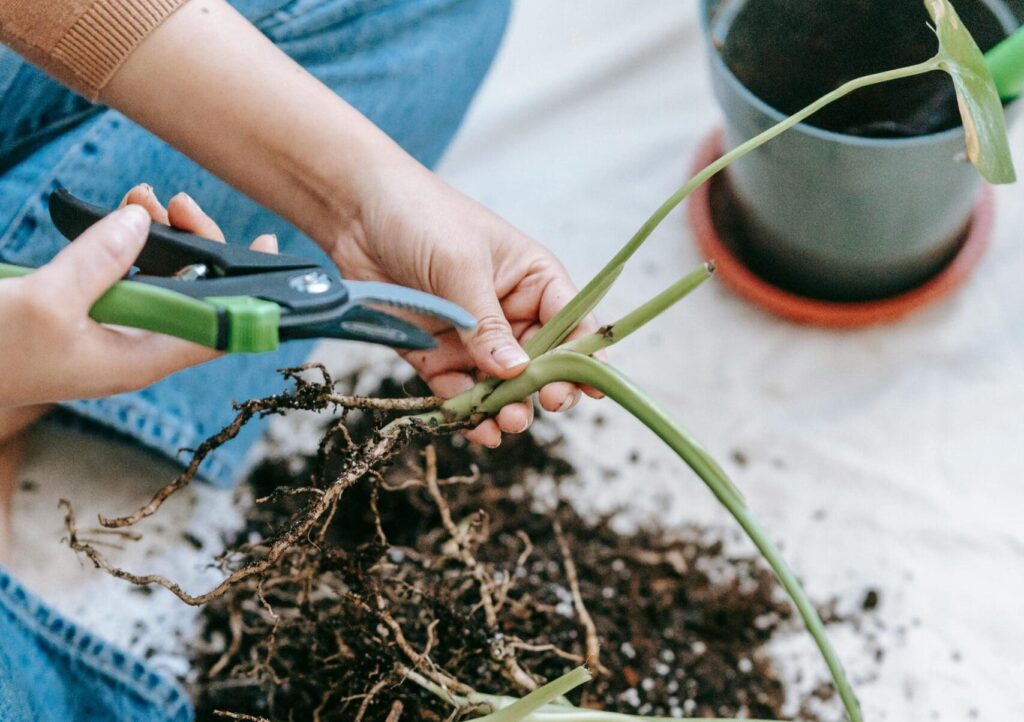
Wipe down
or scrub the outsides of the pots to remove dirt, and wash drainage trays.
Inspect the stems and leaves
looking for any of those insects that can damage the leaves and spread to other plants – aphids, mealybugs, mites are among the most common culprits.

Don’t bring insects indoors

If you do find insects ready to hitch a ride inside, say goodbye to them before you make the move. Here are common houseplant pests, and how to control them:
Aphids: These are tiny, sometimes wingless insects typically found on the undersides of leaves, stems or flower buds. They survive (and cause damage) by sucking the plant’s juices. They can often be washed away with a spray of water. Insecticidal soap or horticultural oil will take care of heavy infestations.
Scale insects: These look like flattened discs or bumps stuck to the stems or on the undersides of the leaves. They, too, use their mouthparts to pierce the plant and feed on plant juices. Leaves and stems playing host to scale insects may turn yellow. Washing the plant with soapy water should eliminate the problem.
Mealybugs: White or light, cottony spots are a sign of plant-juice-feeding mealybugs. They may congregate at leaf joints or stem nodes, or some may feed on plant roots. Mealybugs have a coating that protects them from sprays, so removing them manually may be the best option. Use a cotton swab dipped in rubbing alcohol to wipe them away, or tweezers to pluck them from leaves and stems.
Fungus gnats: Adult gnats are tiny, dark-colored insects that fly around the plant. The adult insects are mostly a nuisance, but the larvae feed on the crown and roots of plants. Fungus gnats need constant moisture, so the best control is to avoid overwatering indoor plants. Some houseplant experts recommend capturing adult gnats by using small sticky traps; a piece of yellow cardboard coated with petroleum jelly may be an effective trap. Insecticide sprays also work.
Making the transition

Plants may show signs of stress as they adjust to lower light conditions – leaf drop is a common indicator. When you first bring houseplants indoors, place the plants where they receive the most sunlight indoors – south-facing windows are ideal — and gradually move them away from that stronger light. Remember, though, that plants need light to flourish, even in winter, so you may need to provide the necessary level with supplemental lighting.
The lower humidity inside a home is also a stressor. If you notice leaves drooping or drying, try to raise the humidity level by misting plants regularly to add moisture, or placing them in rooms with higher humidity, such as the kitchen or bathroom.
Feel free to reach out to our team with questions or concerns with your houseplants. And if you need our Botanical Design team to assist with your Plantscaping, we are here for you!


