by Gloria Ballard | Dec 10, 2022
No matter how you feel about poinsettias – love, hate, indifference – you have to admit that they are an ever-present part of holiday décor. If you include these cheerful plants in your decorating plan, don’t you want them to look good as long as possible? Here’s how:
Bringing them home
Poinsettias are a tropical plant, native to Mexico, so the first thing to remember is to keep them out of the extreme weather. If it’s a cold day when you bring them home (less than 50 degrees), don’t leave them in the car too long, and make sure they are protected on the trip from the car to the house.
Once inside, place them in a spot that gets indirect light. They’ll do well and last longer in a room that is not overly warm – 68 to 70 degrees is just about right. Keep the soil moist, but not soggy. Most likely the plastic pot will be wrapped in foil; it’s best to take the foil off when you water, to avoid trapping water that will cause the roots to rot. If the leaves become dry and curled, that’s a sign that it needs water. If a poinsettia wilts, that’s an indication that it may be getting too much.
But it may surprise you!
Those are the basics for keeping a poinsettia looking cheerful through the holidays. The length of a poinsettia’s life generally depends on how much care you’re willing to give it. Some people bring it home to display for a few days, and without any attention at all it dries out and begins to drop its leaves within a couple of weeks.
If it starts to look a little sorry, don’t feel bad about tossing it into the compost. However, as often happens, a poinsettia can surprise you by pushing on healthy and strong into the New Year, and it’s a shame to discard something that’s growing so vigorously.
So, let it grow. If yours is still doing well, you’ve given it at least the minimum amount of TLC: indirect light in a room that’s not too warm, enough water to keep the soil moist but not soggy. If you continue to care for it, the plant should last well beyond the holidays. To keep it looking its best, make sure the poinsettia is in a place that’s away from cold drafts or heating vents.
Life after the holidays
As spring approaches, cut the poinsettia back to about 8 inches tall and fertilize with an all-purpose plant food. After there is no longer any danger of frost, re-pot the plant and set it outdoors, or plant it in the ground where it can survive as a nice, interesting all-green plant all summer. (What we think of as the colorful flowers are technically bracts, or modified leaves. The tiny yellow flowers are clustered in the centers of the bracts.) Poinsettia will bask in the summer heat, then succumb to its inevitable fate at the first sign of frost.
Some ambitious gardeners are able to “re-bloom” a poinsettia plant, but it takes patience and impeccable timing to provide the right conditions of light and dark needed to produce the colorful bracts.
You can still find a selection of poinsettias to add to your last-minute decorating in the Gardens of Babylon Garden Center.
by Gloria Ballard | Nov 26, 2022
Cool days, low humidity, and frosty nights mean the end for any tropical plants outdoors. By now, the tropical hibiscus, rubber plant, Boston fern, mandevilla, parlor palm and any other cold-fearing specimens you want to save should be inside, snug and warm, where you can care for them as you would for any other houseplant.
But heated indoor air presents other problems. Typically, the air inside a home is drier in the winter, and tropical plants – including houseplants – may suffer from too little humidity, the amount of water vapor in the air. We’ve rounded up a few humidity hacks, easy ways to raise the moisture level in the air around your indoor plants. And read on for more tips to overwintering outdoor tropical plants indoors.
Assemble a pebble tray
Placing humidity-loving plants in a pebble tray is an efficient way to raise the moisture level around them, and requires minimal maintenance once it’s in place. You’ll need a shallow, waterproof tray large enough to accommodate the plants, clean pebbles, small stones or gravel, and water. Assembling several plants in one tray increases the efficiency.
Fill the tray about halfway to the top with rocks and add enough water to cover them about halfway. Set the plants in their pots on top of the stones; the pots should not be in the water, but just above it. If you have several plants in one tray, you can also place small jars or bowls of water among them to increase the moisture.
To keep the tray from becoming a breeding ground for fungus gnats or other pests, rinse the tray and the rocks every few weeks.
5 More Ways to Raise the Humidity Level
- Group plants close together. Plants placed together form local pockets of humidity as they transpire, and they can benefit one another this way. Placing a few glasses of water among them gives another small boost.
- Use a humidifier. A cool-mist humidifier can raise the moisture level in the air significantly. Here’s a tip: if you want to know the actual level of relative humidity in the air in your rooms, invest in a hygrometer, an instrument for measuring the air’s humidity. Houseplant experts note that most houseplants thrive in an environment where the humidity level is around 60 percent,
- Spray plants with a fine mist. A frequent spritz goes a long way toward keeping some plants happy, but other plants, such as hairy-leaved African violets, should not be misted. Excess water on the leaves will be harmful over time.
- Use a terrarium. If you have a number of small plants, group them together inside a glass terrarium, where they create their own tropical environment. A smaller, single plant that needs high humidity can be covered with a glass cloche.
- Of course, you can also choose to keep plants in the most humid room in the house — often a bathroom, where the shower adds a daily dose of moisture to the air. If the room doesn’t get enough natural light, you may need to add supplemental lighting.
How to care for outdoor plants indoors
After you’ve inspected your plants for pests and brought them inside, don’t forget about them. Tropical outdoor specimens still need care and attention once they’re indoors.
Their most crucial need may be light. Plants that grow outdoors in summer may suffer from the lower light inside the house, so place them near the brightest windows in your home, or provide supplemental lighting with artificial lights.
In general, the plants won’t need as much water as they did in the summer. In fact, too much water can cause root damage. They do, however, need more humidity than they can get from heated, dry indoor air (see above). Monitor the soil, and water when the top inch or so of soil in the pot is dry.
Watch for pests. Even if you know the plants were clean when you brought them in, they can still be attractive hosts for some of the most common houseplant pests. Watch for mealybugs, aphids, whitefly, scale and spider mites. Signs of these pests may include webbing, a sticky substance on the leaves, tiny yellow spots or cottony white spots on stems or leaves.
by Gloria Ballard | Oct 30, 2022
A home landscape that looks great during the day disappears at night. But the right lights, placed in the right places, can transform the surrounding lawn and gardens as the sun goes down, and provide an extra level of safety for homeowners and visitors navigating the landscape after dark. Tim Nebel, Gardens of Babylon’s operations manager for irrigation, lighting and audio, explains how outdoor lights extend your enjoyment of the landscape.
Landscape Lighting: The Benefits
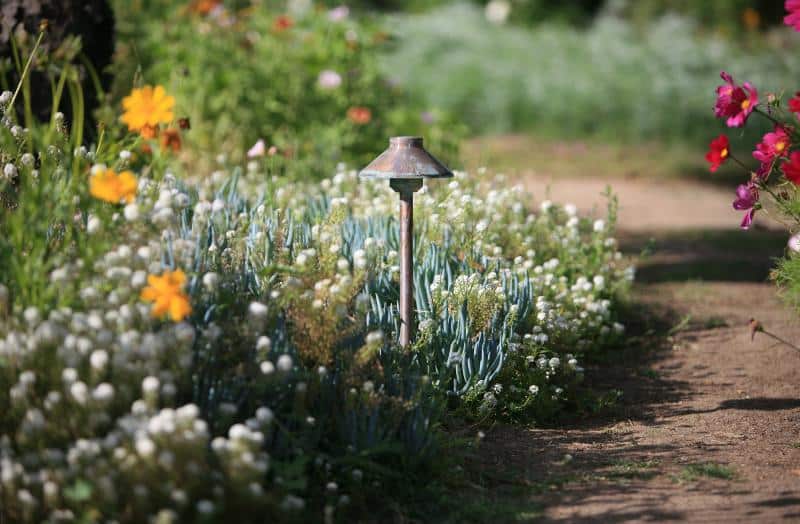
“Using path lights and down lights is a simple and elegant way to ensure you and your guests never miss a step leading to your front door, or are able to recognize the pathway through a garden or walkway at night,” Nebel says.
And while safety can be a top priority, lights placed strategically throughout the landscape can artfully illuminate your home. And that, Nebel says, is where the fun comes in.
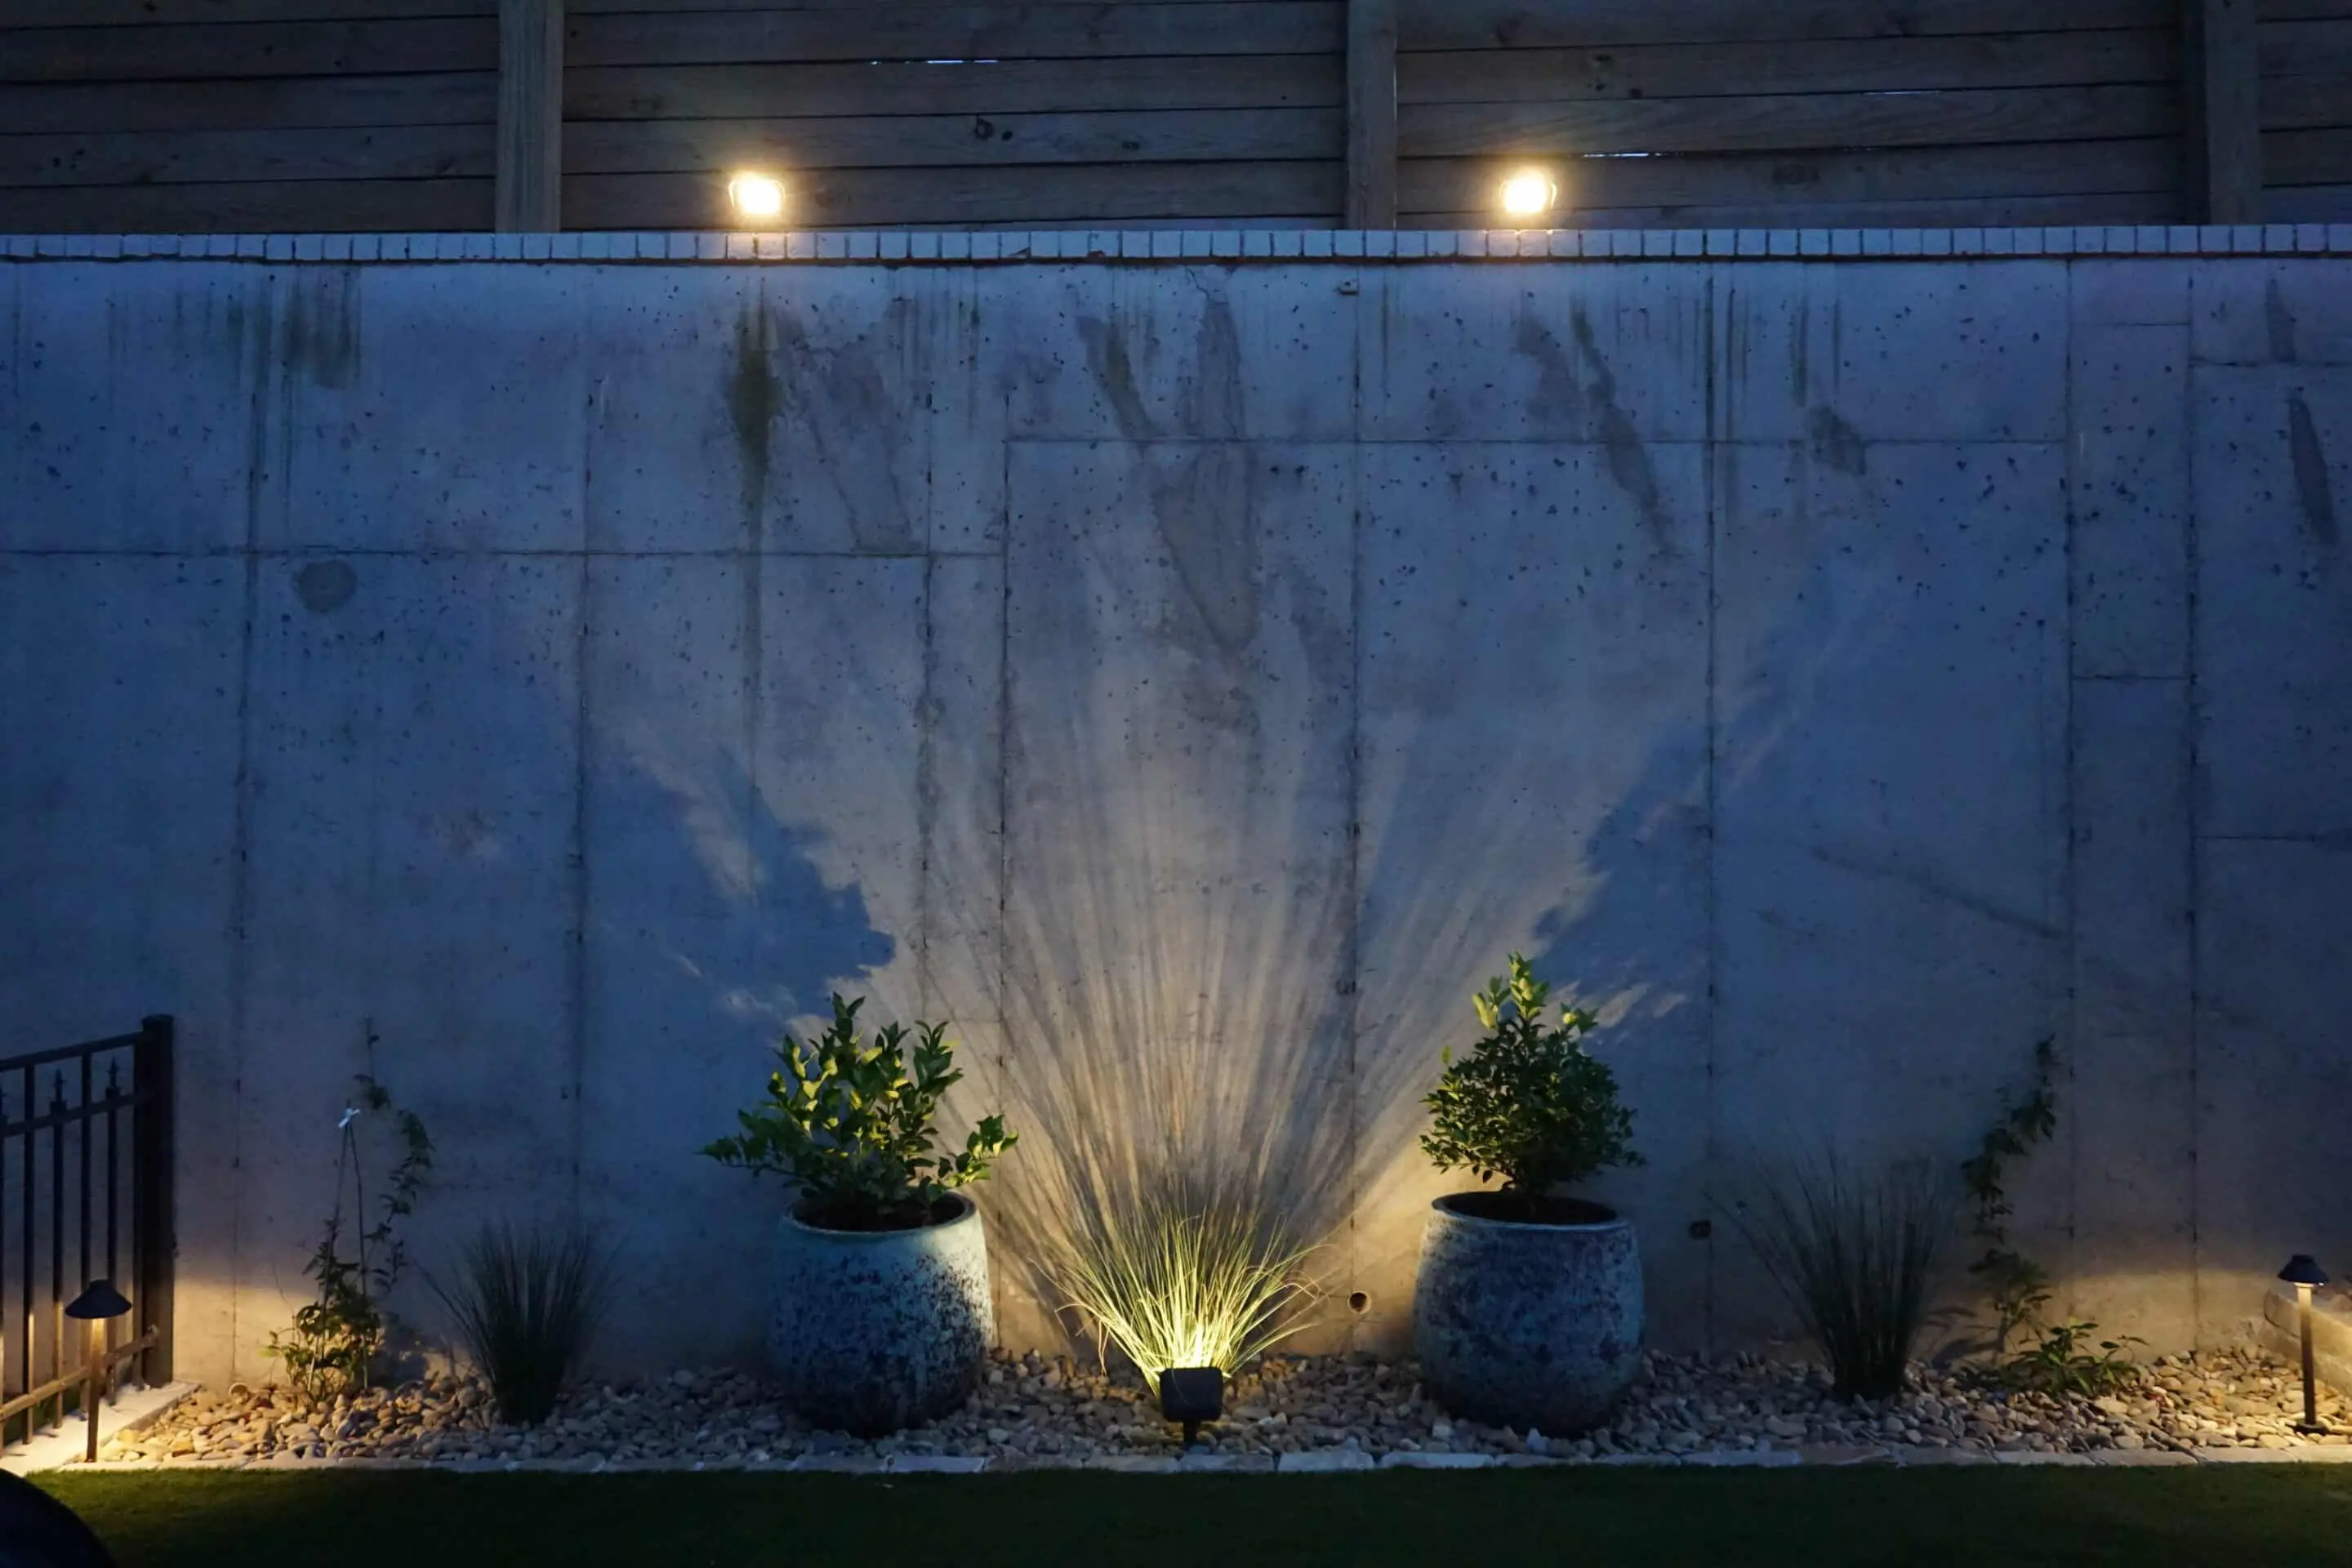
“Particularly this time of year, as the days grow shorter, after dark might be one of your few opportunities to relax at home, look out over the landscape, and spend time outside.” With lights, the view from your deck or patio can be more than just a dark void. Lights can provide a wash of illumination to an area, highlight specific details, cast dramatic shadows and extend your view of the landscape at night.
Lighting Facts & Fixtures
The most common fixtures are path lights and up lights, Nebel says. “Path lights come in a variety of styles, and typically have a dome-shaped cap which diffuses the light towards the walking path below.”
To enhance landscape features, a designer often relies on up lights. “Up lights can add dramatic accents and depth to your home and yard. These fixtures are most commonly used to illuminate the front facade of your home and trees throughout your yard,” Nebel says. “Uplighting a specimen tree, or the facade of your home, can change the entire look of your property to those who are passing by or pulling into the driveway.”
In addition to path lights and up lights, there is a range of additional fixtures intended for various effects. Nebel describes the options:
- In-grade lights: set into driveways, pools, or retaining walls.
- Post/deck lights: set into fences, posts, or decking steps.
- Down lights: mounted in trees or on houses to create a “moonlit” effect, quite different than the dramatic effect of uplighting.
- Wall wash lights: similar to an up light, but less harsh and with a wider spread. Great for lighting walls, boulders, or shrubs.
- Flood lights: positioned in areas for maximum security.
“Your lighting design can range from subtle and soft to dramatic and brilliant, depending on your taste and what you’re hoping to achieve,” Nebel says.
Planning for Lighting
When you begin to think about lighting your landscape, the important things to consider are where you spend your time outdoors in the evening and what you’d like to see when you gaze out into the night, or when you pull into your driveway after dark. Also consider any areas that could be made safer by lighting them at night, Nebel suggests.
“I would recommend browsing an internet search of ‘landscape lighting images’ or — better yet — taking a nighttime drive around Nashville neighborhoods to get an idea of what you might like to try with lighting at home,” he advises.
If you are starting with a new landscape plan and call on the services of a designer, it’s easy to add lighting to your list of must-have features. If you’re incorporating lights into an existing plan, a landscape designer will be able to assess the needs and suggest the types and placement of fixtures and components.
Landscape designers at Gardens of Babylon use two preferred brands of lighting fixtures: Sollos, a company based in Atlanta, and San Marcos, CA-based company FX Luminaire.
“Both offer a variety of fixtures, and both brands receive the same wattage lamps, so the lighting effect is similar for their standard lights,” Nebel says. “Sollos fixtures look a bit more traditional, while the metallic finish on FX Luminaire fixtures has a modern appeal.” The FX Luminaire lights provide a heavier, sturdier fixture, as well as options to sync your lights with a phone app, or change colors and add dimming. “If you find another brand that you prefer, or that you need to match, chances are we can find it for you.”
Lighting your landscape adds another dimension to the comfort and enjoyment of your home, Nebel believes.
“We invest a lot in our homes and our outdoor spaces, and the aesthetics of these spaces all-but disappear when the sun goes down,” Nebel says. “Landscape lighting is the perfect way to extend the time you’re able to enjoy your outdoor space, and to augment the beauty of your home in the evening.”
Click here to schedule an appointment with a design specialist to discuss outdoor lighting for your home and landscape.
by Gloria Ballard | Oct 15, 2022
Summer’s over, and the winter holidays are approaching. It’s time to begin thinking about spring. True, there’s much less to do in the garden beds around your home. But it’s a good time to plan for next year while this year’s landscape and garden are still on your mind. Here are five landscaping projects for fall to consider to maintain and improve your landscape:
Plant spring-flowering bulbs
Think about the daffodils, tulips, hyacinths, and other spring-flowering favorites that would be a welcome sight next spring and plant bulbs now.
As a general rule, plant bulbs – pointed end up – at a depth about three times the bulb’s width.
Plant trees and shrubs
Fall’s cooler weather signals the start of tree-planting time. It’s better to plant trees and shrubs while they are dormant after the leaves are gone. Strong root growth is important for the tree’s survival. And after leaf drop, the trees can put their energy into growing roots without having to support the top.
Long-term survival also depends on planting the right tree or shrub in the right place. Please make sure the varieties you choose will receive the amount of sunlight and soil conditions they need. And that you understand their growth pattern and size at maturity. Shrubs and trees in the wrong place can become unwelcome inhabitants that will have to be removed later.
Remove excess leaves
If your landscape is blessed with large trees, leaf removal may be your biggest garden task each fall. Here’s a tip from seasoned gardeners: Fall leaves are a great addition to the compost. And some of the leaves you rake off the lawn this fall could come in handy next summer when you can again use them for mulch. Cover them in bags, so they don’t decompose by the time you need them in June.
Fill containers with winter foliage.
Containers planted with season-appropriate foliage can help you enjoy your landscape through the coming winter. Think about small evergreen shrubs, trailing ivy, branches of berries – anything that provides interesting shapes, shades, and foliage to your containers. Colorful pansies may be your go-to filler for adding color, but also consider the unexpected: rust-red coral bells (Heuchera), Chinese fringe flower (Loropetalum), ornamental cabbage, and other hardy foliage add subtle or striking colors to containers.
Plan for next spring
As leaves fall and foliage dies back, you may be able to get a better idea of changes, additions, and adjustments you’d like to make in your landscape. You can begin thinking about what improvements are possible. Do you want to add raised beds to grow herbs and vegetables? Plan and build them in the fall, and fill them with soil to get acclimated and settled before planting time next year. Do you need new walking paths? Stroll around the landscape now to determine where they should lead. Make arrangements now to have work done so your landscape can be ready to enjoy when you venture out again next spring.
Need help with your landscape? To book an appointment with Gardens of Babylon’s design or maintenance team, click here.
Gardens of Babylon offers a Winter Wake-Up Guarantee for dormant plants planted in fall and winter by their Landscaping Team: Dormant plant material will be covered under a 90-day warranty if it fails to flush the following spring. Foliage winter burn on evergreen material is not covered under warranty. Warranty applies to Landscaping plantings ONLY and does not cover plants purchased from the Garden Center.
by Gloria Ballard | Oct 5, 2022
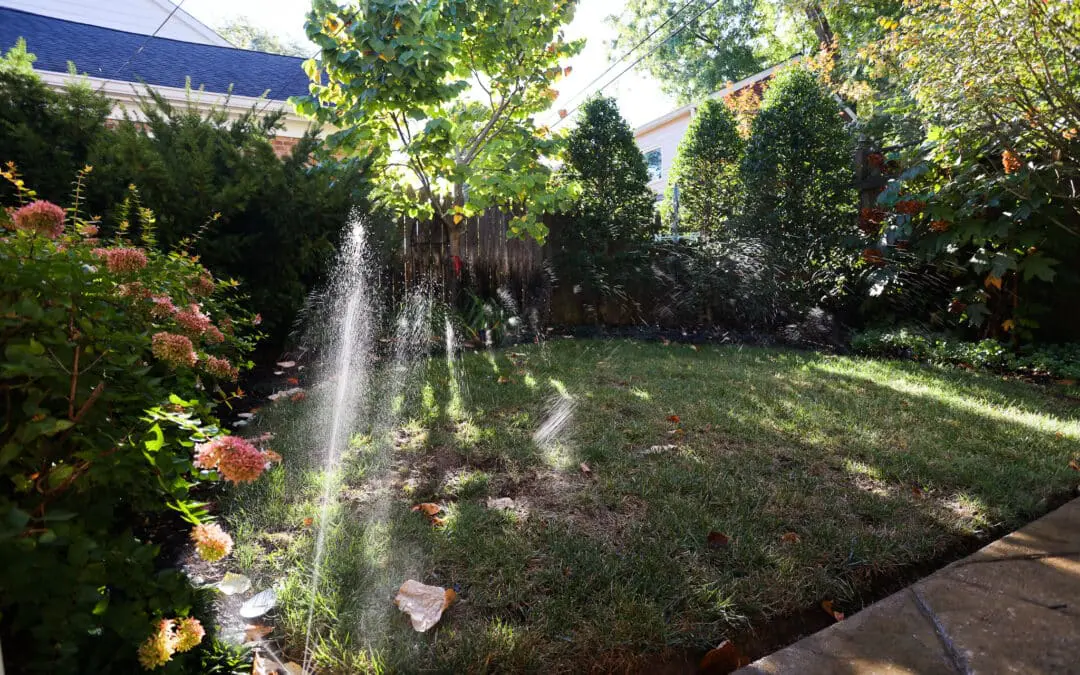
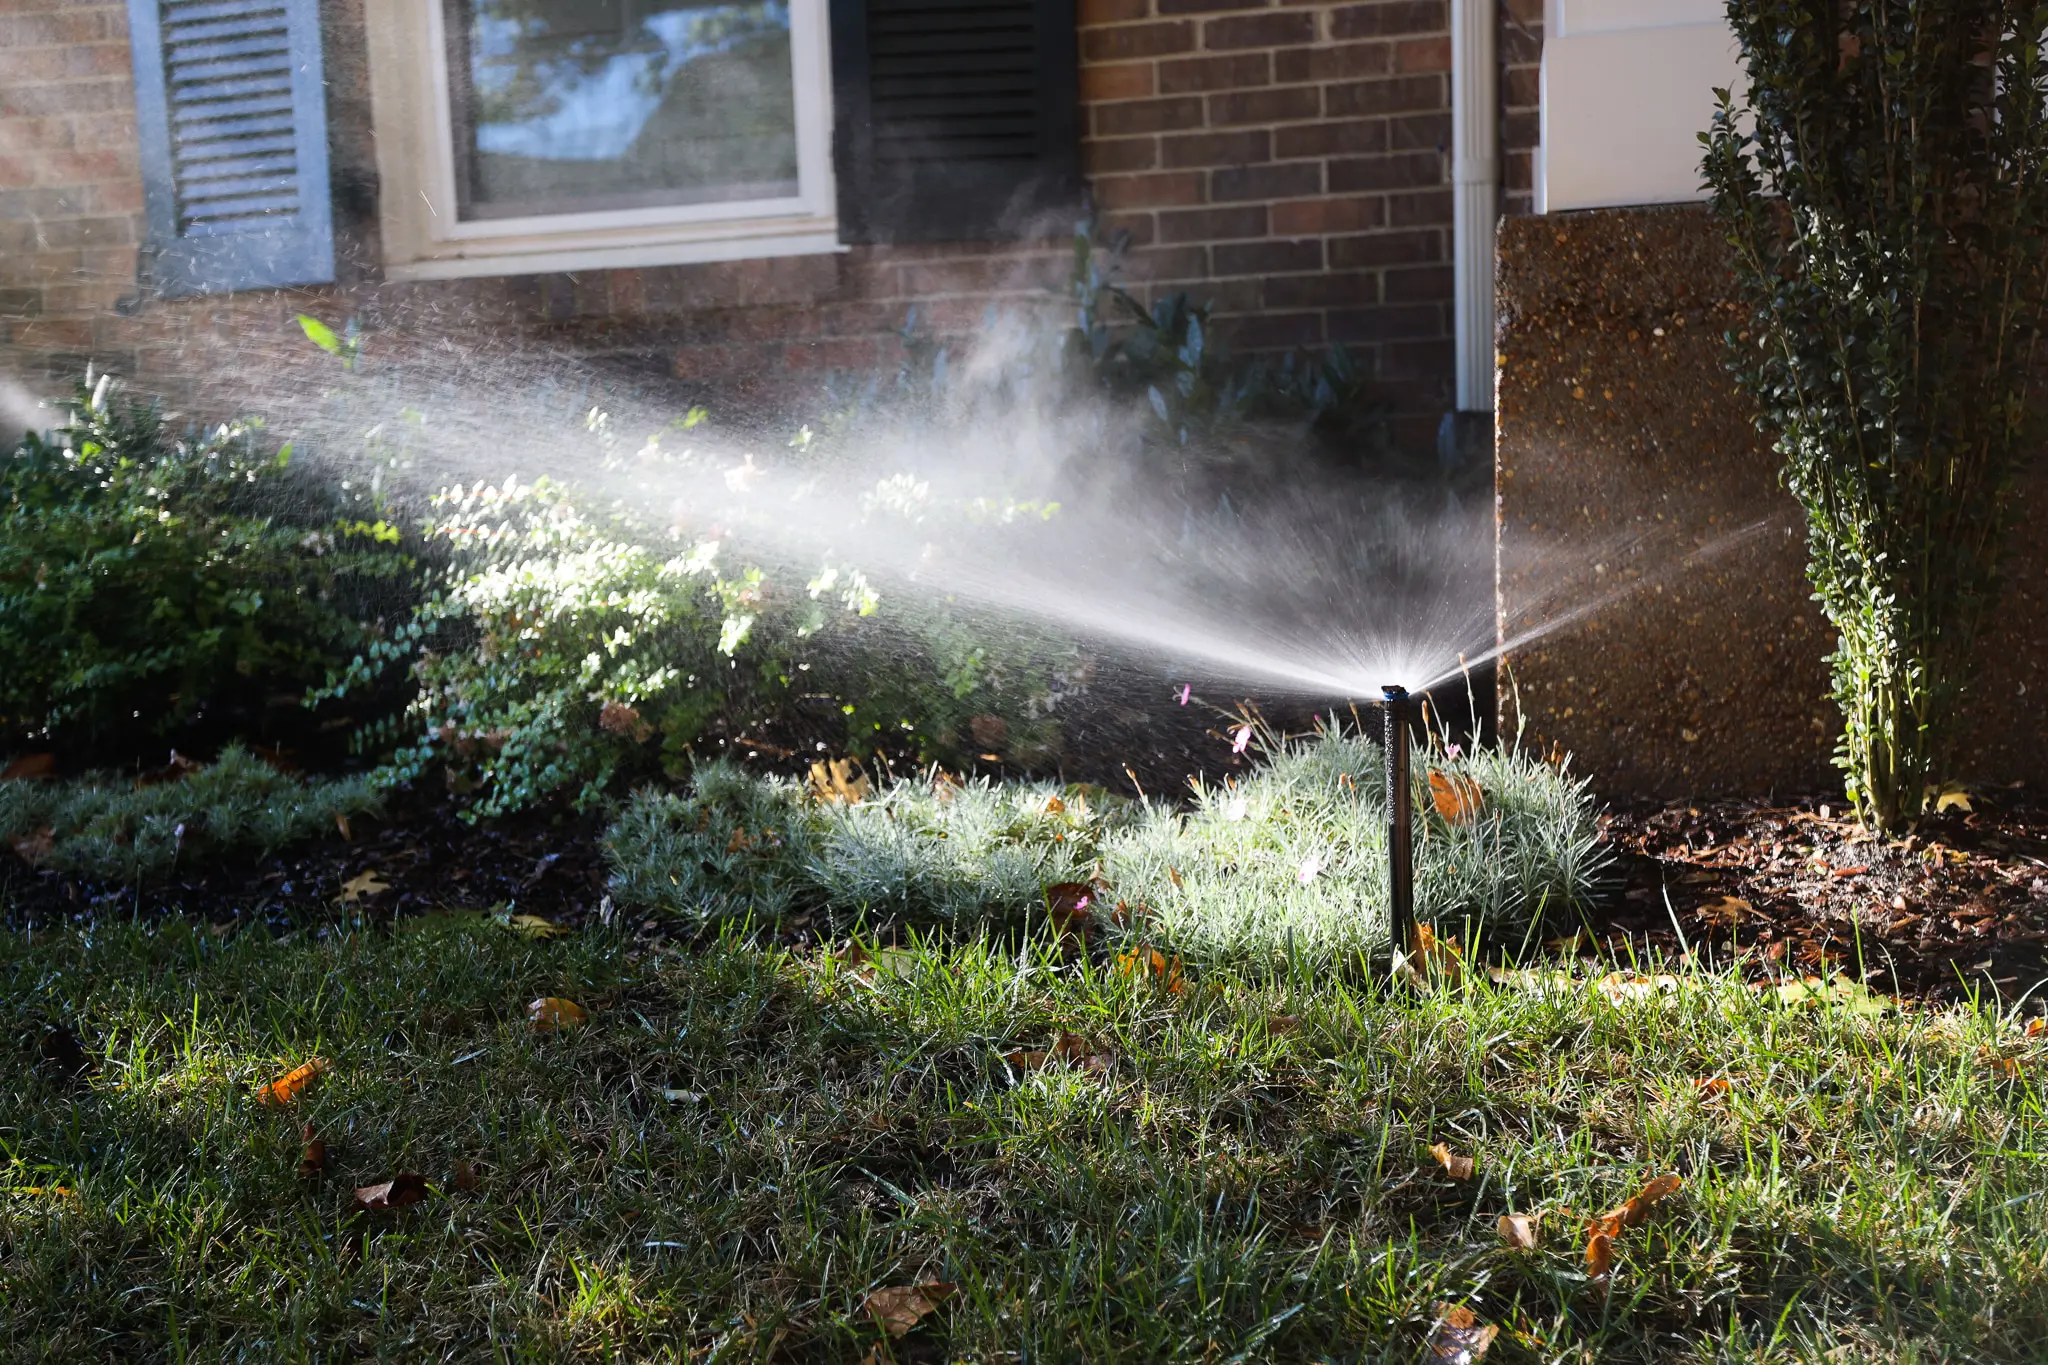
It’s Time to Winterize In-Ground Irrigation Systems
Your in-ground irrigation system has kept your landscape green, growing and thriving throughout the high temperatures and dry days of summer. Fall is here now, and it’s time to give the system some attention after it’s worked so hard. It’s a good idea to make sure the system enters its “down time” in the best shape possible.
“System issues do arise from time to time, so it’s important to have a regular maintenance schedule,” says Tim Nebel, landscape production manager at Gardens of Babylon. High on that priorities list is to winterize your in-ground system – “This is essential in Tennessee, or in places with cold winters.”
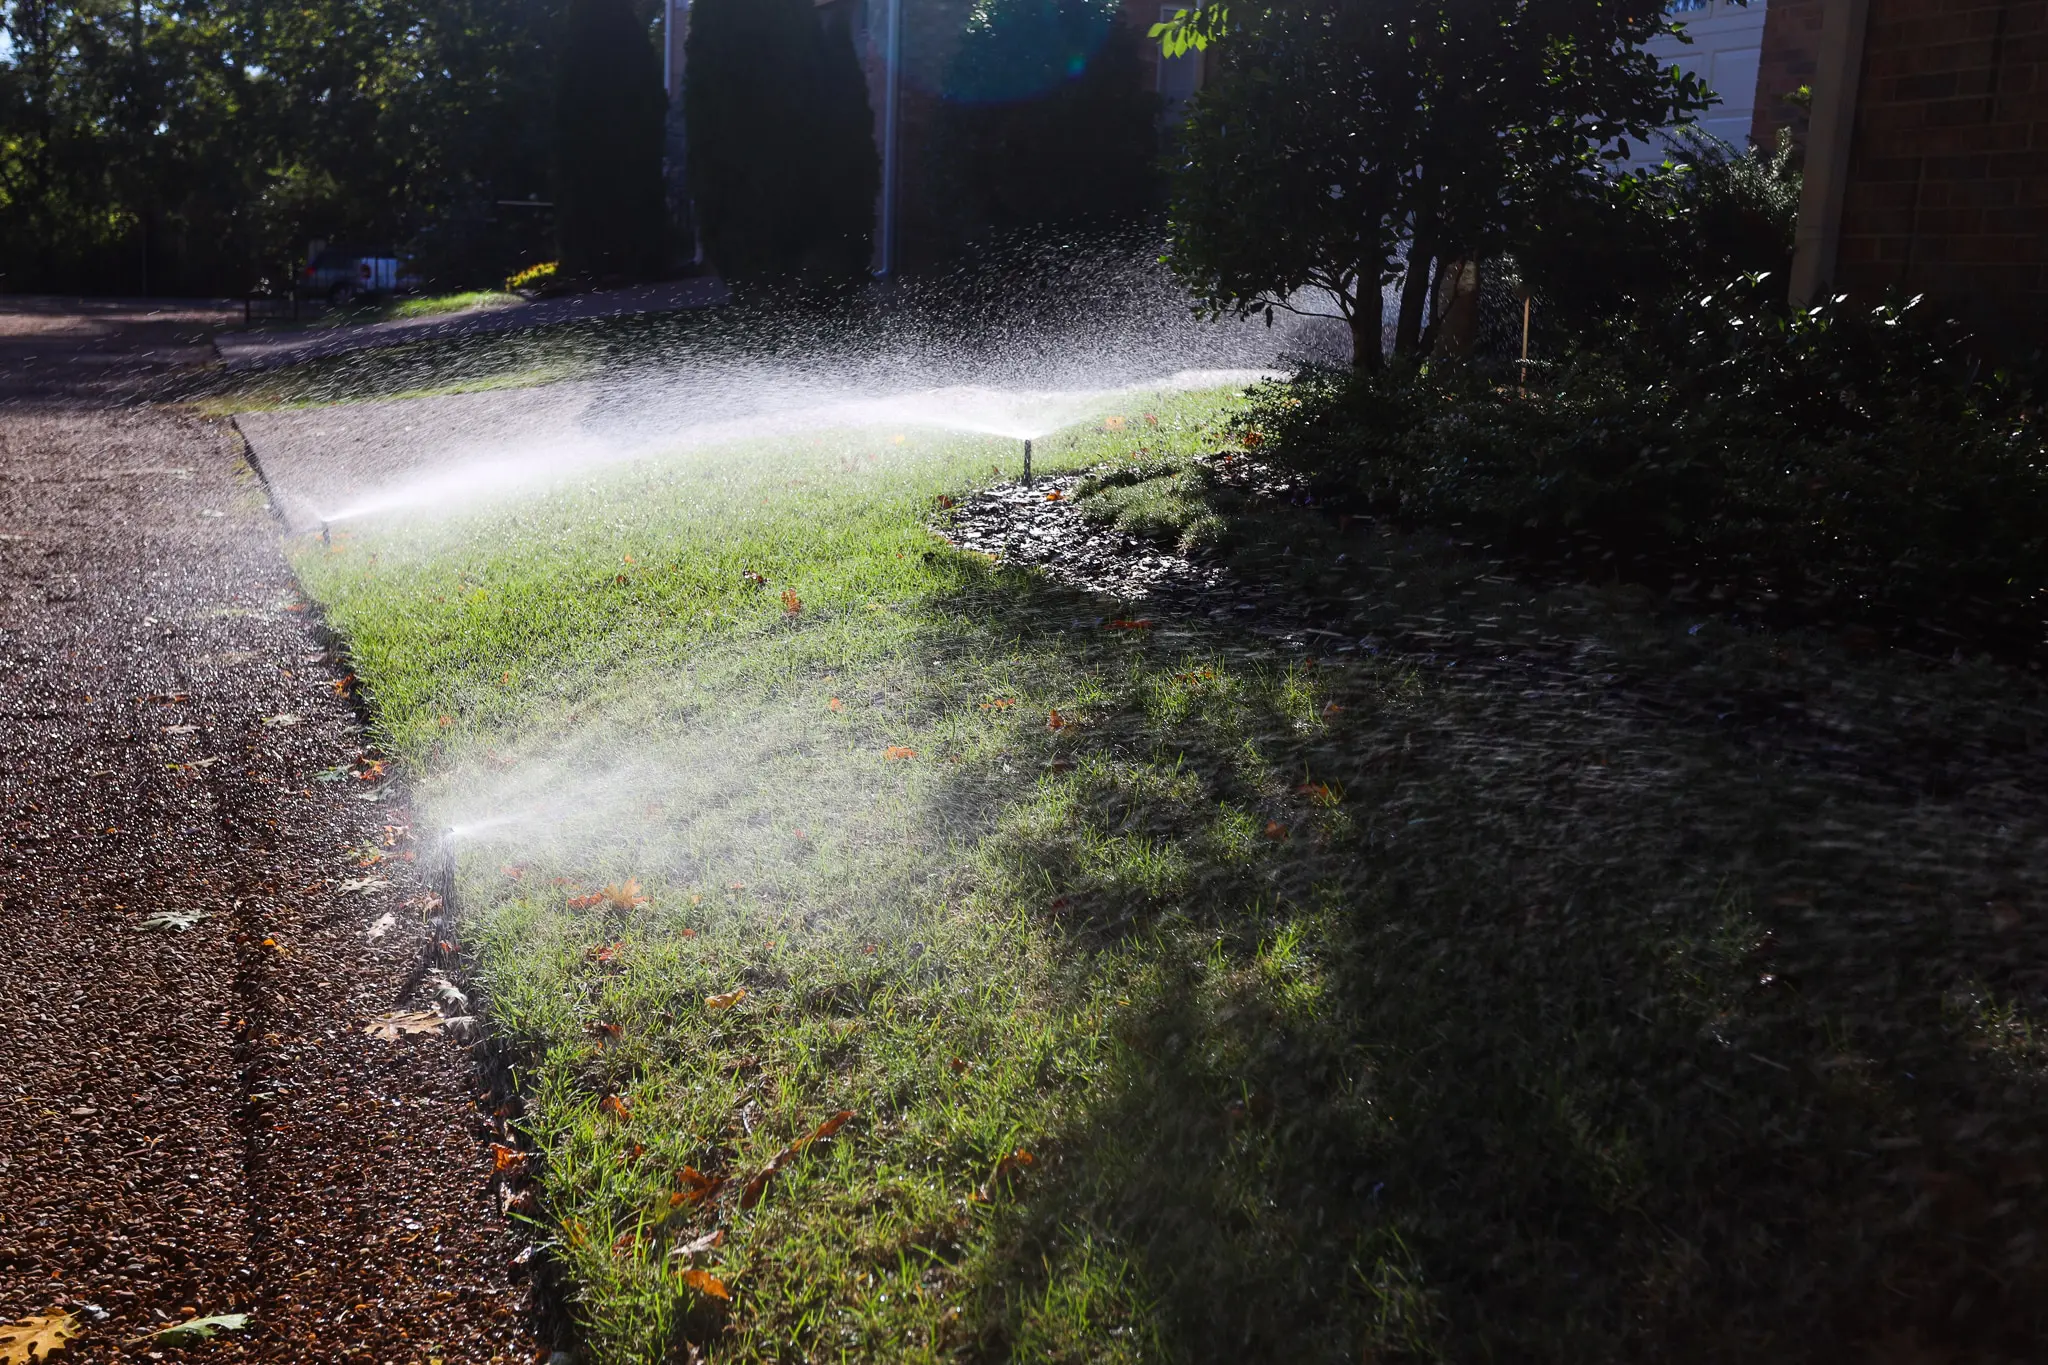
What is ‘Winterizing?’
Freezing weather will likely turn any water in your in-ground irrigation pipes to ice, so as winter approaches, technicians turn off the water flow to the system, then drain water out of the pipes and the backflow using an air compressor. “If you do not winterize, more than likely the pipes and backflow will crack due to freezing and thawing, and will then need to be repaired for the system to run properly,” Nebel says.
In addition to winterizing, Gardens of Babylon’s maintenance schedule for in-ground systems can also include seasonal adjustment inspections as the landscape’s water needs rise or slow down.
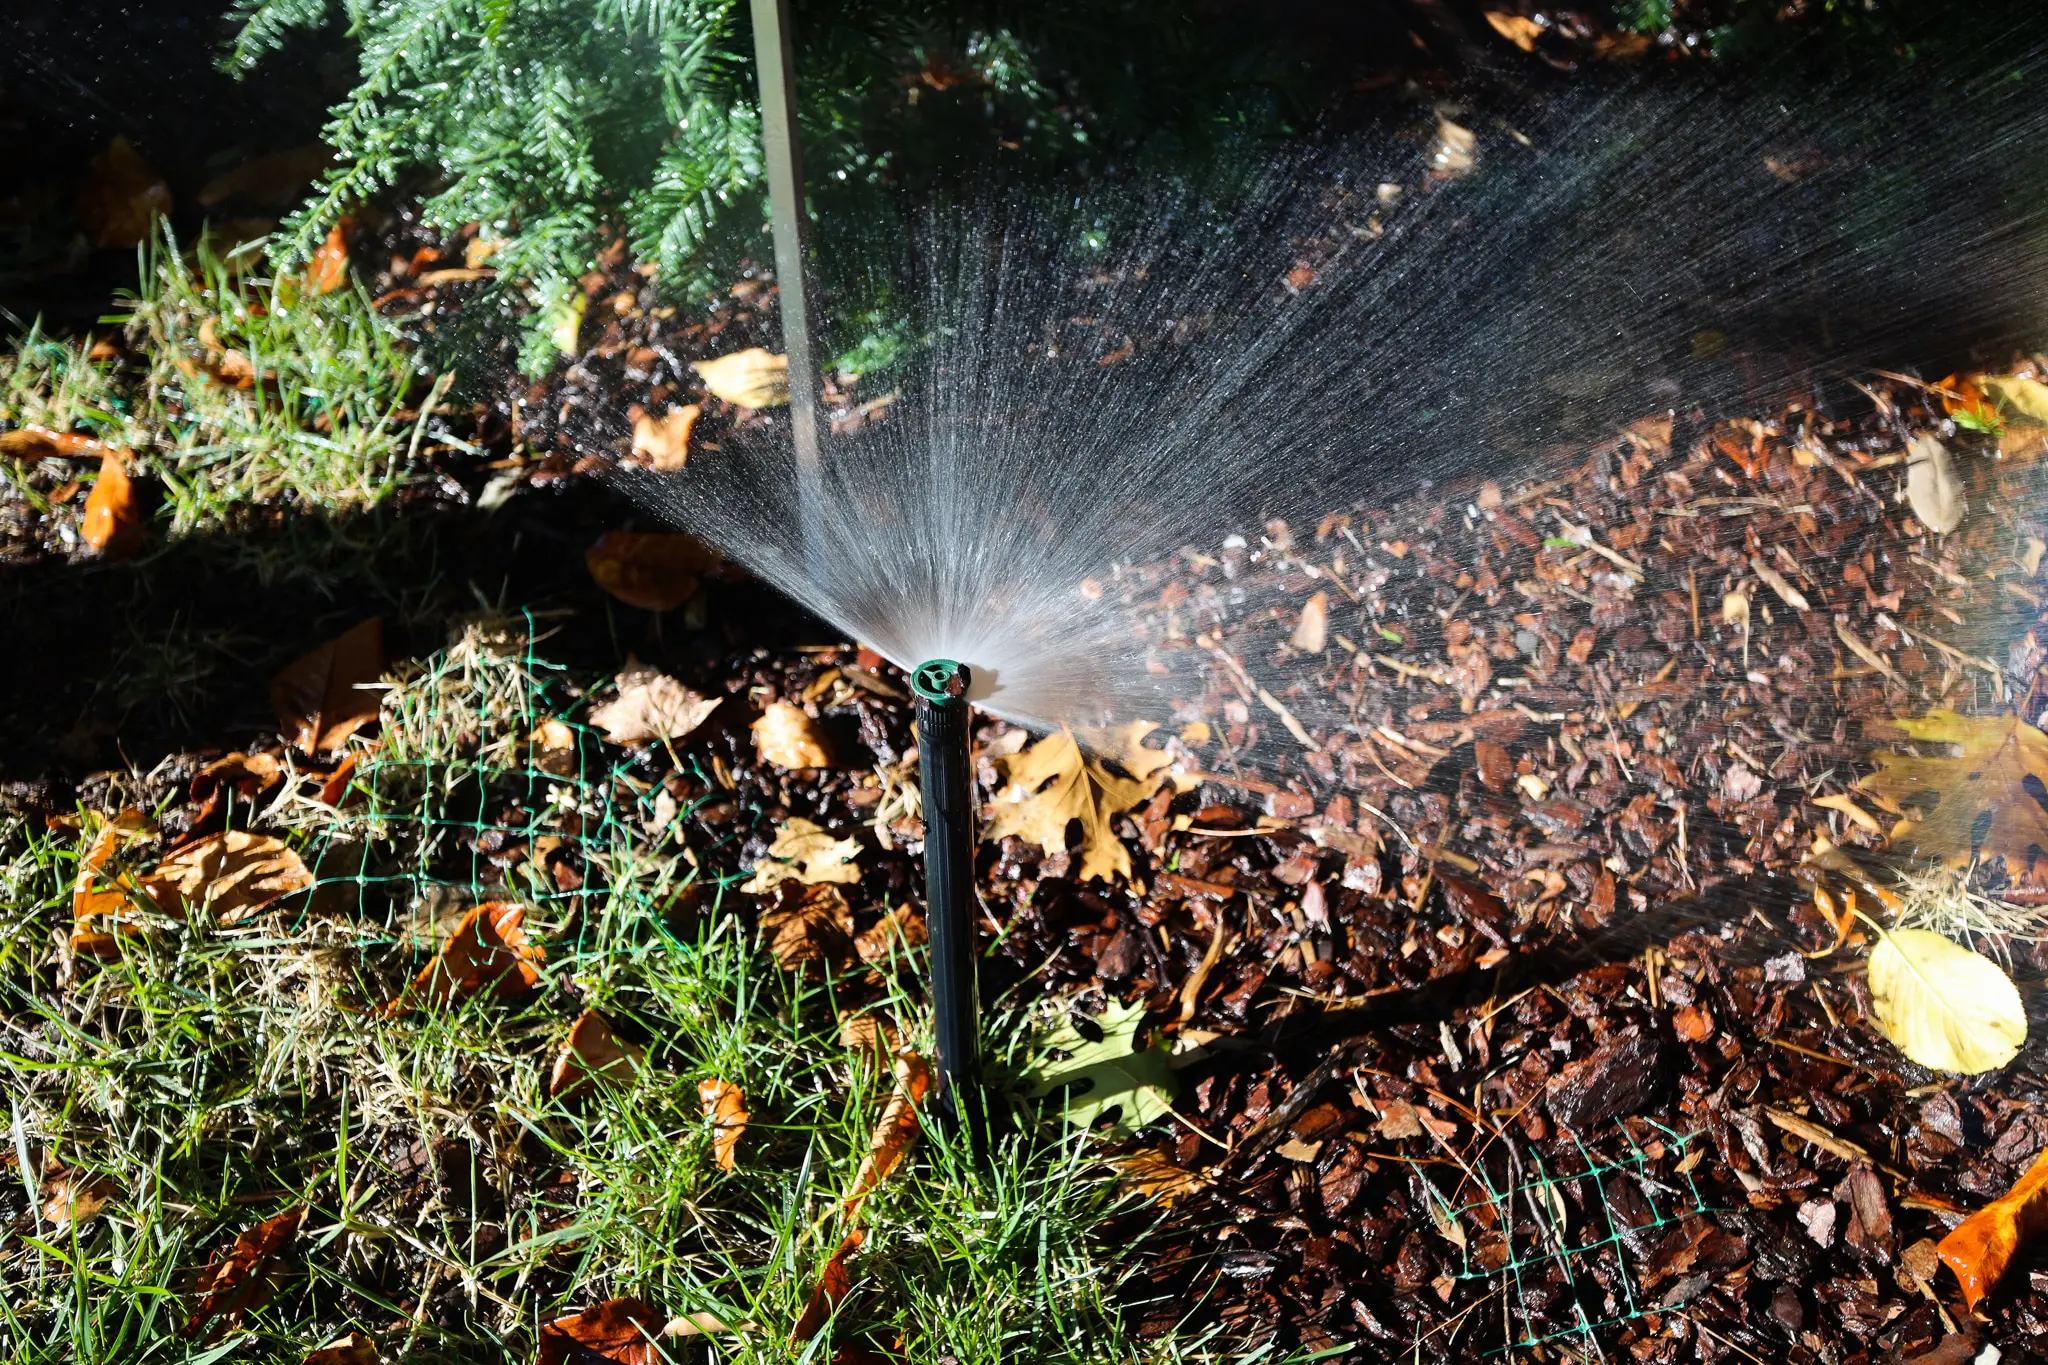
Spring Startup
When the weather begins to warm up again in spring, the system can be turned back on and timer settings are restored. Later, as summer heat kicks in, Nebel says it’s important to re-visit the settings of the run-time controller to adjust the watering times as necessary for the season.
“Coverage needs can change over time. Adjusting the settings can save water and lower costs,” Nebel says. “An in-ground irrigation system may be the biggest investment you make in your landscape,” he says. “You want to make sure you’re having someone look at it year round.”
Gardens of Babylon install and maintains in-ground irrigation systems for all types of landscapes. Click here to book a consultation for installation or to learn about maintenance packages for your irrigation system.