——————————————————————————–
It’s that time of year when, after summer’s unrelenting heat and humidity, we gardeners enjoy getting out and getting our hands in the soil again. Gardeners, it’s time to prep your landscape and garden beds for fall. Did you know we offer a Personal Farmer service at Gardens of Babylon? You can book a consultation here and we can help you create the garden of your dreams. But if you want to do it yourself, where do you begin?

Harvest
If you grow veggies in a kitchen garden, you’ve likely been harvesting tomatoes, squash, beans, okra, cukes and other summer favorites all along. You’ll keep doing that, of course, but it’s also a good time to pull or dig up any dead or dying plants, trim dead foliage, clean up leftover debris, and add another layer of mulch to any vegetable plants that are still going strong.
Beds of annuals and perennials also benefit from a cleanup heading into fall. Remove dead or dying foliage, sticks, twigs or other debris. Deadhead perennials and annuals as needed, and gather a bouquet of summer blooms to enjoy indoors while you’re at it.
And of course there’s the never-ending task of removing unwanted plants (aka weeds). If the summer heat drained any energy you had for pulling weeds, now’s the time to catch up on that necessary garden chore.
Bed prep
Garden beds that have provided fresh produce for you all spring and summer – whether they’re in the ground or raised beds — can use a little attention about now. Boosting the soil with compost, organic fertilizer, mulch or other amendments will send them into the next season in better shape. Top off raised beds with special soil mix or a topsoil blend, and work it into the existing soil.
Kitchen garden beds that will not be used outside of the growing season benefit from a cover crop – a fast-growing annual planted in late summer or fall and plowed under before planting time in spring. This “green manure” protects from soil erosion over the winter, provides organic matter to improve soil structure, and nutrients to boost growing conditions, suppresses weeds and provides habitat for beneficial insects and pollinators – a win all around.
Plants to consider for cover crops in established kitchen garden beds include alfalfa, crimson clover, hairy vetch, buckwheat and annual rye, along with mustard greens and daikon radish, two edible crops that benefit the soil, as well.
If you’re thinking of starting a new garden bed to plant next spring, now is the best time to act. You can start by laying cardboard and mulch over the soil in the new bed to suppress weeds that may grow; by next spring, the area should be ready for digging and planting.

Plant a Fall Garden
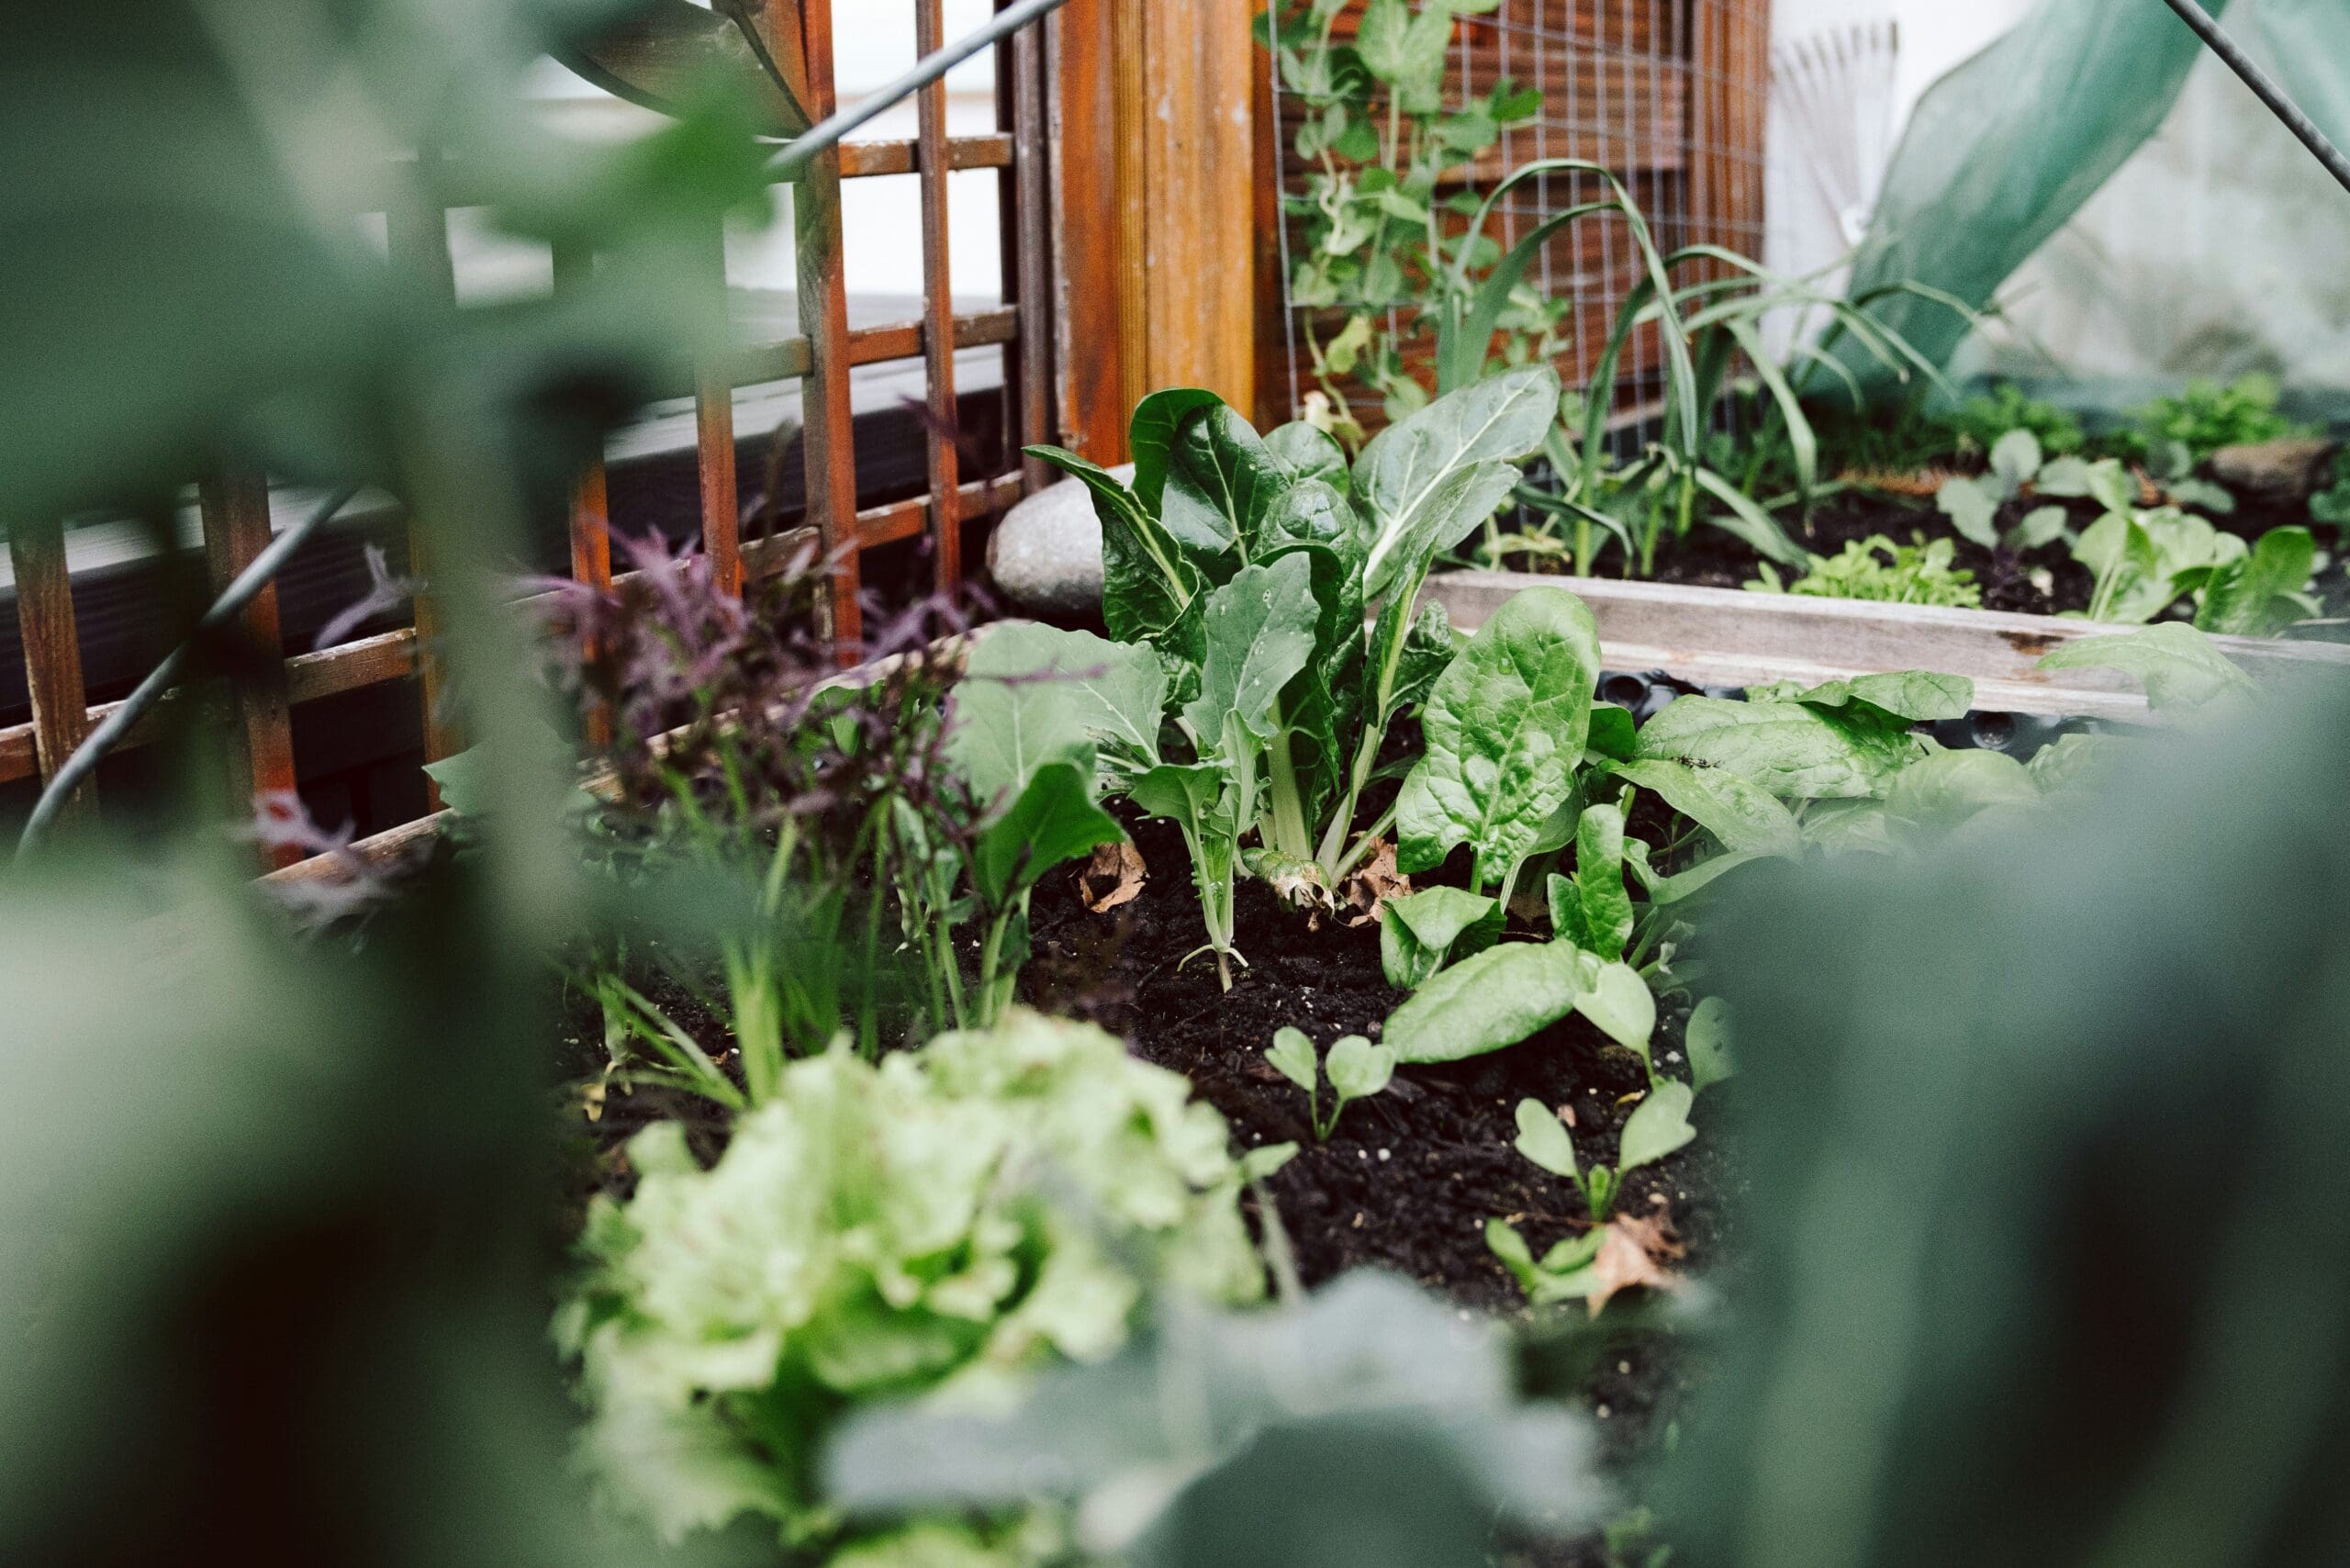
As the summer kitchen-garden crops begin to fade, make the transition to edibles that grow in cooler weather. Some suggestions:
Broccoli: When you buy transplants, make sure they are short and compact and have good, green color. Plant them in full sun about 18 inches apart. Water as needed to keep the plants from wilting, and apply a complete fertilizer when they are about 10 inches tall.
Collards: Sow seeds or set seedlings in full sun and well-drained soil, 12 to 18 inches apart. Provide about an inch of water a week and harvest by cutting the outer leaves as they reach full size.
Cabbages: Set out transplants in full sun and well-drained soil, spaced about 18 inches apart. Fertilize the plants when they’re about half grown, and harvest when the heads reach full size.
Leaf lettuce: Begin now to sow seeds in successive plantings every two or three weeks. Sow in rows 12 inches apart, and thin to 4 – 6 inches apart when seedlings appear. You can also sprinkle seeds over soil in large pots and planters. Harvest when the leaves are large enough to use.
Spinach: Sow seeds in full sun in rows 12 inches apart, and thin seedlings to one plant every 6 inches. Provide regular water, and harvest when the leaves are large enough to use.
Turnips (for greens or roots): Sow seed in full sun and well-drained soil ½ inch deep, 8 – 10 seeds per foot. When the seedlings are 4 inches tall, thin them to about three inches apart. You should have greens to harvest in about five weeks; if you grow turnips for the roots, harvest them when they are about 2 – 3 inches in diameter.
Garlic: Plant individual cloves (pointed ends up) two inches deep and about four inches apart in a sunny bed with well-drained soil. Harvest the bulbs next spring.
Visit Gardens of Babylon Garden Center for plants, seeds, tools, equipment, raised beds, soil, mulch and all you might need to prep your established or new garden beds for fall.


