

Recipe for Houseplant Health: It’s In the Mix
A garden specialist once passed on this bit of wisdom: “The best thing you can do is put a fifty-cent plant in a five-dollar hole.” He didn’t mean that literally, of course, but the lesson was clear: For optimal houseplant health, make sure you pay attention to the soil you grow it in!
That goes for plants in the garden, but also for your houseplants. Regular garden soil is not suitable for plants meant to grow indoors, as it is too heavy to allow houseplants to drain well, and may contain contaminants and soil-borne diseases that could harm indoor plants.
Potting mix – technically not soil as we think of it in a garden bed – is usually a mixture of ingredients such as peat moss, sphagnum moss, perlite, vermiculite, pine bark or other components that help with aeration and drainage that houseplants require. Potting mix may also contain fertilizer. It’s often labeled as sterile because it doesn’t contain the pathogens found in outdoor soil.
Match the mix
All-purpose potting mix is fine for many of your houseplants, having the loose, fluffy texture required for plants’ roots to cling, and drains well enough that it won’t cause roots to rot. But some plants have more specific needs, and there are mixes for those plants, as well.
Succulents and cacti,
which grow in the wild in places where there is very little rain, need soil that drains fast. A potting mix for these plants may contain more sand.
Orchids and bromeliads
grow best in a mix that contains bark, which provides good drainage and the air flow through the mix that the plants’ roots require. This acidic mix is especially good for bromeliads.
African violet
mix is a lighter, more porous mix that may contain sphagnum moss, vermiculite, perlite and coarse sand for better drainage than regular potting mix.
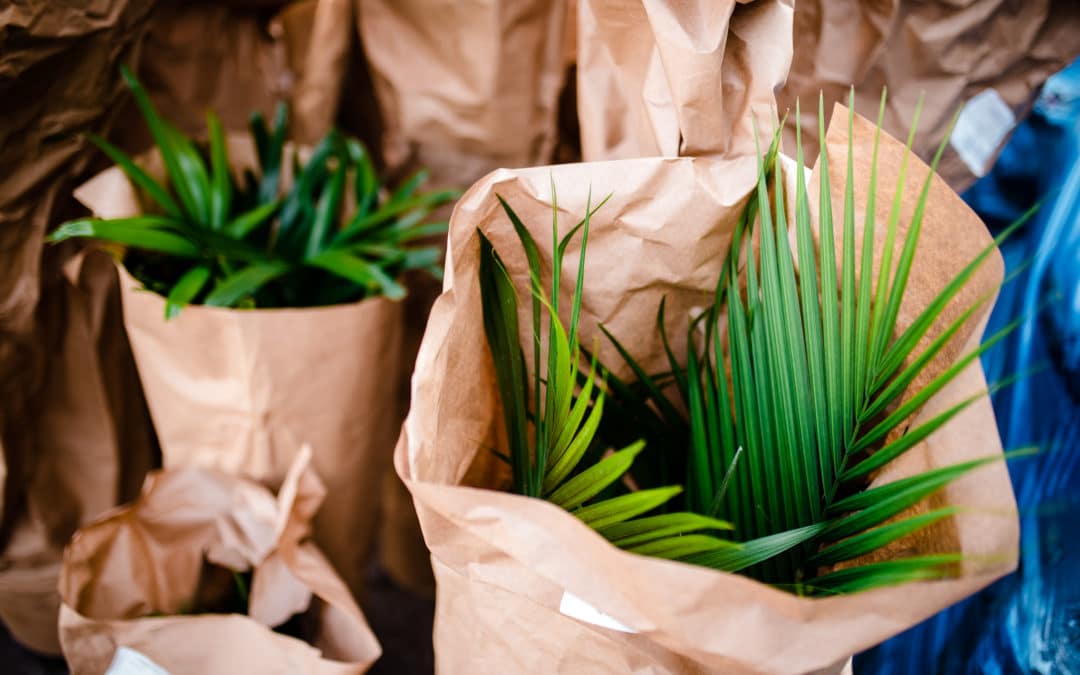
Palms
– cousins to those tropical beach beauties — have specific needs that most often include a fast-draining mix, but some palms may prefer a slightly heavier medium. Some houseplant experts recommend using African violet mix with a bit of sand mixed in.
Spring refresh
Not all houseplants need to be repotted every year, but for those that have outgrown their pots or are struggling in depleted potting mix, now is a good time for this task. Here’s a refresher on how to do it:
- Line the bottom of the new pot with a porous material to cover the drainage hole, then fill the pot about two-thirds full of new potting mix.
- Remove the plant out of the old pot by turning it upside down with your hand against the old mix. Don’t pull the plant by its stem; slide the rootball out and gently squeeze and pull at the soil and roots to loosen them. Unwind roots that have grown around the old mix inside the container.
- Place the rootball on top of the layer of potting mix inside the new pot and fill in around with more so that it’s planted at the same depth as it was in its old home. You may want to add a little water at this point to settle the soil before topping it off with a bit more. Water the newly potted plant thoroughly.
Potting mix for all types of houseplants is available at Gardens of Babylon’s Garden Center. Check out our repotting expert Paige’s plant-repotting video demonstration here, and visit the Gardens of Babylon Garden Center to pick out new plants for your indoor garden.
